Showing posts with label diy decor. Show all posts

Sunday, February 22, 2015

Love Letters

After hanging the book baskets in Emma and Owen's room, the wall space above them was looking a bit bleak.  I wanted to make some large art to hang above them and came across some inspiration from The Green Palette's instagram feed.
Brent and I set out to make something similar by first sketching our letter templates onto a piece of 1/4 inch plywood.  Using the table saw and a jig saw, Brent cut them out and I sanded them.
Now that we had a template, we wanted to layer a different type of wood on top.  Luckily, we had a 6 foot pallet in our shop!  Brent disassembled it and cut the pallet boards into a few different widths.
To attach the pallet boards to the template, we used a little glue, then laid our piece of pallet board on top, flipped it over and put a nail through it with the air gun.
When all the letters were done, I gave them a coat of Walnut stain.
I wanted them to have a little color so Emma and I brushed on three different colors of blue/grey paint.
 We put the darkest color over all of the horizontal lines to make them stand out more.
We alternated the other two colors of blue/grey on each plank.
After the paint was dry, I sanded each letter to remove some paint and expose the texture of the pallet wood.
 A quick coat of Van Dyke Brown Glaze always seems to tie everything together.  In the photo below, the left side has been glazed and the right has not.
The letters didn't feel finished at this point, so we chose to outline each letter with a small piece of trim.  After the trim was applied, I brushed on a coat of sealer to darken the wood tone a bit.
To hang them, we nailed in some of these clips...
Hanging them proved to be a bit tricky...but we finally got them level.
 I didn't plan on this, but the colors in the letters actually matches the color of the baskets perfectly.
 I guess you could say we all "LOVE" our new art :)

Monday, January 19, 2015

Kids Bedroom Makeover Part 1 - Paint

Thankfully, I had a three day weekend - because I needed every single second of it to get Emma and Owen's room back to a livable state.  I really, really, really wish I would have decided to paint their room BEFORE we moved the bunk beds in.  It wouldn't have been a big deal to move the beds out for the weekend if the frames fit through the bedroom door, but they don't, which means we would have had to spend a few extra hours taking them apart and relocating to the living room.  I knew we could work around them but it got preeeeetttttyyyy tight.
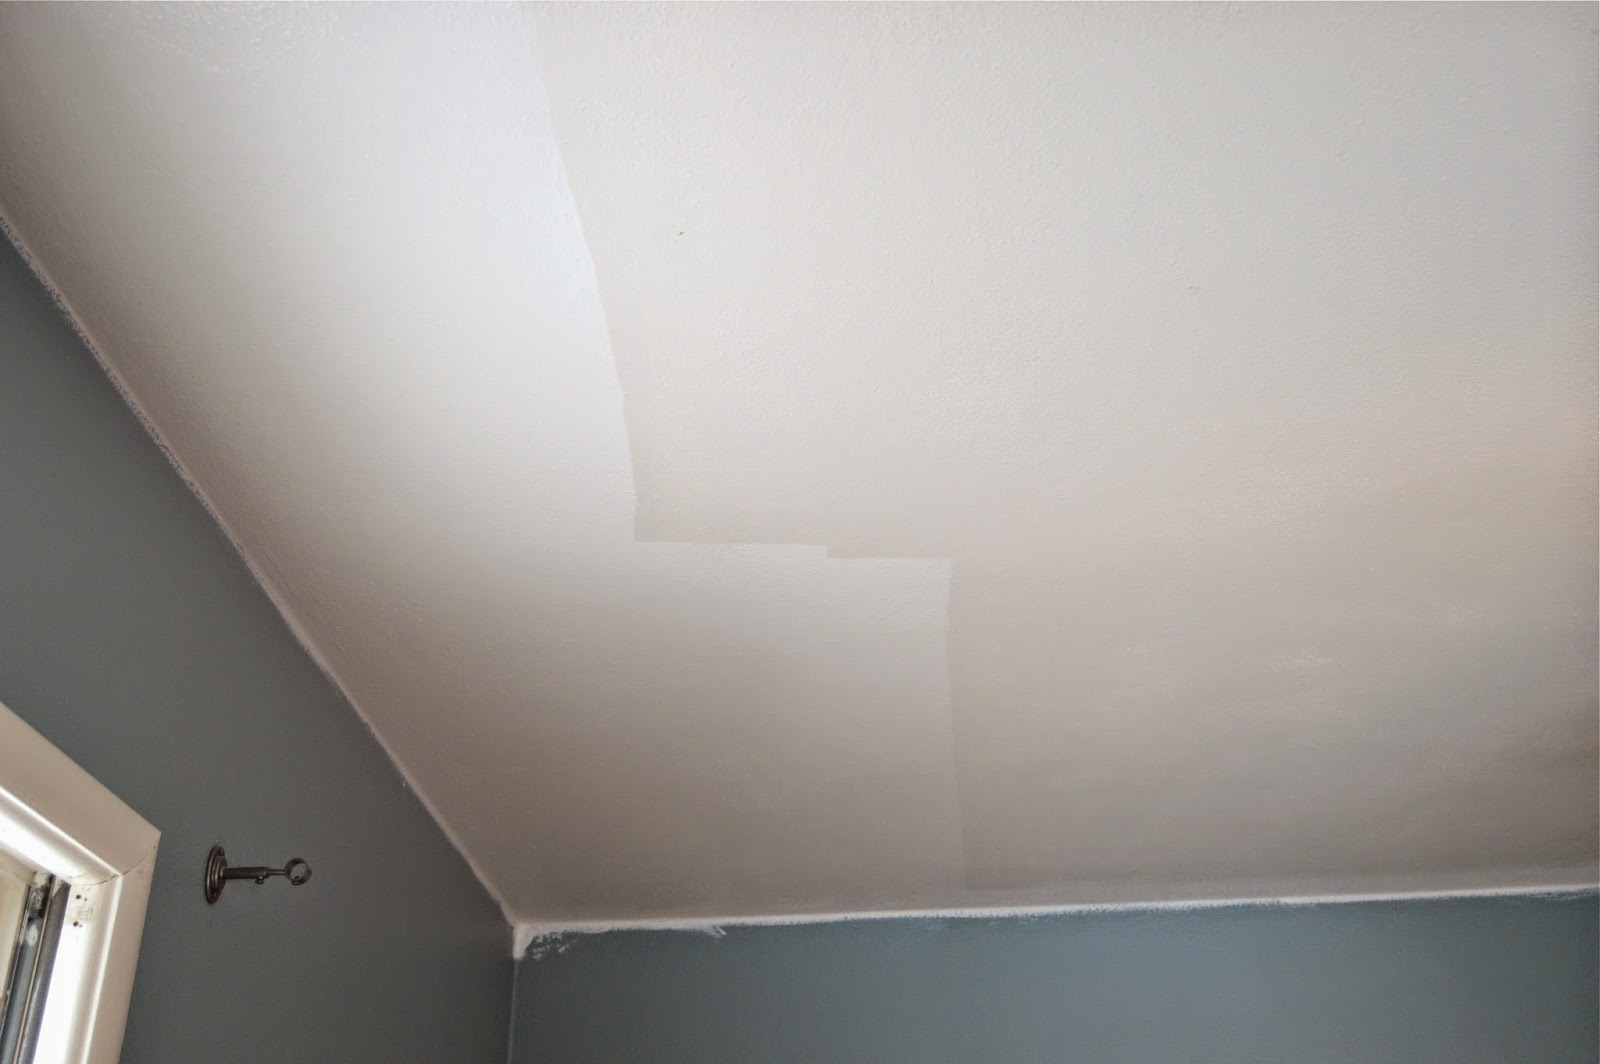
I went back and forth about whether or not to paint the ceiling...in the end, I knew I would kick myself for not doing it so I stopped pouting long enough to get it done.  And I never thought I would have such a tough time choosing a shade of white for this room!  Pinterest makes it way too easy to become indecisive.  Benjamin Moore White Dove seemed to be a no-fail white from the things I read, so ended up doing one coat of that color in a flat finish on the ceiling.  It was very apparent right away that it was the right decision.  You can see from the photo below how dingy the ceiling had become.
 The great part about Benjamin Moore White Dove is that it is also a great shade of white to use for trim and doors, so we also picked up a gallon of semi-gloss in White Dove.  Emma scrubbed all of the little cracks of the windows with an old toothbrush while we were painting.
 All of the trim and doors received two coats of semi-gloss.
 For the walls, I picked Benjamin Moore Revere Pewter.  It's the same color we have in the living room/dining room and adjoining hallway to the kids room.  I think its going to be a great backdrop for the other things we have planned for their room!
 It was a little tough to get a good photo of the room below...we can't put the bunk beds back into the recessed area yet because that wall will be getting some special treatment.  So just pretend that portion of the beds isn't blocking the view :)
 You can really tell in this next photo how crisp and clean the doors and trim feel with the new paint color.  There were a lot of little fingerprints on the old paint that momma couldn't scrub off anymore!
 The blue wall at the back of this photo is normally where the beds would scooch into - but we're not done back there yet so the beds have to stay in the middle of the room for another week.
Next, we'll be addressing the biggest problem of this bedroom - the lack of lighting.  We went back and forth with several different options to add lighting and we think we've come up with a great solution.  Hopefully we'll have that done by next Monday!  At this point, I'm just relieved the kids can sleep in their own beds again tonight.  All weekend they have been sleeping on a second bed we have upstairs in our master bedroom while we were painting.  I know it was fun for Emma and Owen because it has felt like a big sleepover - but mom and dad are ready to move them out :)

Thursday, January 15, 2015

Movin' On Up

I get bored.  Easily.  Which is why I'm always making things, building things, painting things and daydreaming about things.  If I don't have a project that I'm working on or towards, you can't tell the difference between me and a lazy sloth.  Of course there are always chores to do, but unless I have a reason to hurry through the chores to get to something better, my motivation sinks like a rock in a bucket.  On a recent snow day, I was home with the kids since school got canceled.  At one point, I was so bored that I dumped out a clean pile of laundry on our bed, with the best intentions of folding it - but instead I climbed on that warm fluffy pile and took a nap on it.  Like a cat.

Not my proudest moment, but it was then that I really started pressuring Brent into letting us get the gears in motion to dive into a project.  Money is a little tight around the Kruse house right now, we are paying for some hefty medical bills for Owen and we are also trying to ramp up our vehicle savings account since Brent's minivan could go at any moment.  This means we can't do anything major like a bathroom remodel or attic renovation.

But what we can do is increase our home's square footage by about 500 square feet.  Let me explain...we have two bedrooms on our main floor, Brent and I have one and Emma and Owen share the other one (with bunk beds).  The whole second floor of our house is one gigantic room, which is technically Emma's room, that has been acting as a playroom for the last 5 years.  Click here to view a tour of the second floor of our house.  The kids mostly only go up there when a friend comes over to play.  Emma's clothes remain up there in a fairly large closet because the closet in Owen's room isn't large enough for both of their things.  So each morning, Emma puts on her thick fleece robe and slippers to run up there to pick out an outfit - that's the fastest I ever see that girl move because IT IS CHILLY UP THERE!  It's not uncommon for her clean laundry to just get stacked on her stairs because no one wants to make the trip up into the arctic air.

This arrangement has worked ok for us for the past 5 years but we are all ready for a change.  Brent and I could barely squeeze our clothing into the tiny closet in our master bedroom and we were ready for extra breathing room since our new California King bed was taking up most of the floor space.  Click here to view a tour of our original master bedroom and kids room.  It's time to move our master bedroom to the second floor and create a little retreat.

With our main floor bedroom empty, it was a perfect opportunity to move the kids' bunk beds into our old bedroom.  It's larger than their current room, there's plenty of room for both of their clothing to fit in the dressers and the closet.  Plus, it's much warmer than their old bedroom, which was drafty from all the windows.

But it turns out, moving the bedrooms around wasn't enough to satisfy my overly bored brain, so I decided I may as well spend the next few weeks/months fixing up their new room for them.  The color on the walls was great for Brent and I's room, it made it feel dark and moody and relaxing.  But for the kids, I want something light and bright with storage for their toys and books.

Here's what we're starting with - I was too tired to bother picking up toys and making the beds before I took these pictures - I'm sure many of you moms can relate :)
Painting trim/doors and walls begins tomorrow night!  And over the next few weeks and possibly months, we've got lots of other fun projects in store to make this room functional and comfortable for the kids.

Wednesday, December 17, 2014

Holiday Button Art

These unfinished cabinet door frames have been laying around in our basement for over a year and I was finally determined to do something with them.  Photos on Pinterest of people using buttons to spell out letters had been popping up in my feed, so I thought I could spell the word JOY with my three frames.  
Here's where I can save you a ton of time...since my door frames didn't have panel inserts, I had to make my own panel out of some scrap sheetrock we had laying around.  Plywood would have been a better option but we didn't have any and I wasn't going to waste the fuel to go to the home improvement store when the sheetrock that was laying around would work just as well.  Lucky for you though, you could use regular old cabinet doors with a panel still intact!
I had this really great turquoise burlap that I wanted to use, but burlap has a very loose knit making it especially see through.  So before I wrapped my burlap around the squares of sheetrock, I painted the sheetrock with a few coats of a similar turquoise paint that we had on hand, this way the white sheetrock wouldn't show through the burlap.  The wood frames got a few coats of antique white paint and some van dyke brown glaze to age them.

After the burlap was wrapped around the sheetrock, I placed it in the painted wood frame.
I don't have a fancy letter cutting machine, so to make the JOY letters, I simply printed each letter off on my printer and cut them out.  Since the letter would be painted red, I traced the letter pattern with a red marker to create the outline.

 Here's what my letter looked like after tracing it onto the burlap.
Using red metallic acrylic paint, I filled in the letter.  This is an important step because if you just use buttons without having the letter painted underneath, the letter will not look very solid because the buttons can't possibly cover all of the space.
Joanne's sells large packs of different colored buttons - I grabbed both of these packs so I could get some different sizes.
Before I started hot glueing anything, I laid some buttons out on the letters to practice a bit.  Some people layer the buttons, others just do a single layer.  I opted for the single layer when it was actually time to glue them down - mostly for my safety since I burnt my fingers about 100 times in the process with the hot glue.
After all three of my letter were complete, Brent used hardware like you see below to hook the frames to one another.
 We love our new holiday art and more importantly, we love that we did it for about $10!