Monday, February 24, 2014

Grain, Grain, Go Away...

Last Monday was Presidents' Day, which meant the kids and I were going to get to spend some quality time at home together.  My idea of quality time was my ipad, my comfy bed with flannel sheets and fuzzy covers, and an all day marathon of Pretty Little Liars.  Probably not what the kids had in mind, but lucky for them, all of our plans were put on hold.

On days off, sleeping in until 7am is the goal.  But at 5:30am, Brent is getting ready to leave for work and the power goes off, which happened to be Emma's cue to wake up.  Next thing I know, I'm getting a little red head to snuggle with and a kid size lantern next to my bed from Brent because of course we have no idea where the flashlights are!

Brent leaves for work, Emma and I fall asleep for exactly 10 minutes and then we hear crying.  Owen has woken up, he finds Emma missing from his bed and his bed light won't turn on because the electricity is out.  I retrieve my second little ginger and we retreat to my bed to cozy up.  Just as I'm drifting back to sleep...my eyes pop open.

No electricity means no hot coffee!!!!  I bolt out of bed to the coffee maker to see if it's still warm from when Brent brewed it at 430am...it's warm, but cooling off quickly.  I'm nearing panic mode.  No microwave to warm it up, can't go to one of the 5 coffee shops within 4 blocks of our house because they will be without power as well.  Survival instincts kicked in, I turned on the gas to the stove and lit the burner with a match.  I poured what was left of the coffee into a saucepan and took a deep breath.  Everything was going to be o.k.

With HOT coffee in hand and candles lit, Emma, Owen and I gathered in the dimly lit living room to wait for the power to come on.  Except it didn't.  As we neared 8 am, the house began to fill with light.  Still no power, so we cleaned some old junk toys out of Owens room.  9am...no power.  I was getting antsy, needing something to do.

At that point I walked into the bathroom and our poor cabinetry didn't stand a chance!  If I couldn't watch tv, I was going to paint!  My parents gave us this great big medicine cabinet out of their house not too long after we moved in.  There's a ton of storage in it and it's super functional for us, it's the finish that's been driving me a little crazy.


Now would be a good time to mention that I am oak-averse.  Meaning, I do not prefer oak and the grain that accompanies it.  I can appreciate it for its beauty when finished properly, but if I had to choose, I would pick a darker stained cherry, maple or painted cabinetry instead.  It should be noted that we do have original oak flooring with a natural stain, which I really like.  Oak cabinets are just not my favorite in our house.


The bathroom vanity has been a problem since we moved in 4 years ago.  For some reason it is disintegrating where it meets the floor....as it falls apart, I actually have to sweep the sawdust off of it or vacuum it.  Do you have to vacuum your cabinets?  Didn't think so.  But we are also too cheap to replace it until we've determined a long term plan for this bathroom.  It needs a full remodel but it's not at the top of our list.  Paint and some new trim would be the fastest easiest way to make it tolerable for a bit longer. 


My plan was to paint all of it white, to match the trim and doors in the rest of our house.  Knowing that I didn't want to dedicate a ton of time to this project, since it wasn't going to be a long term solution, I cut a few corners along the way.  Brent is shaking his head right now because he HATES cutting corners, he would rather do it right the first time.  Opposites attract, right?!

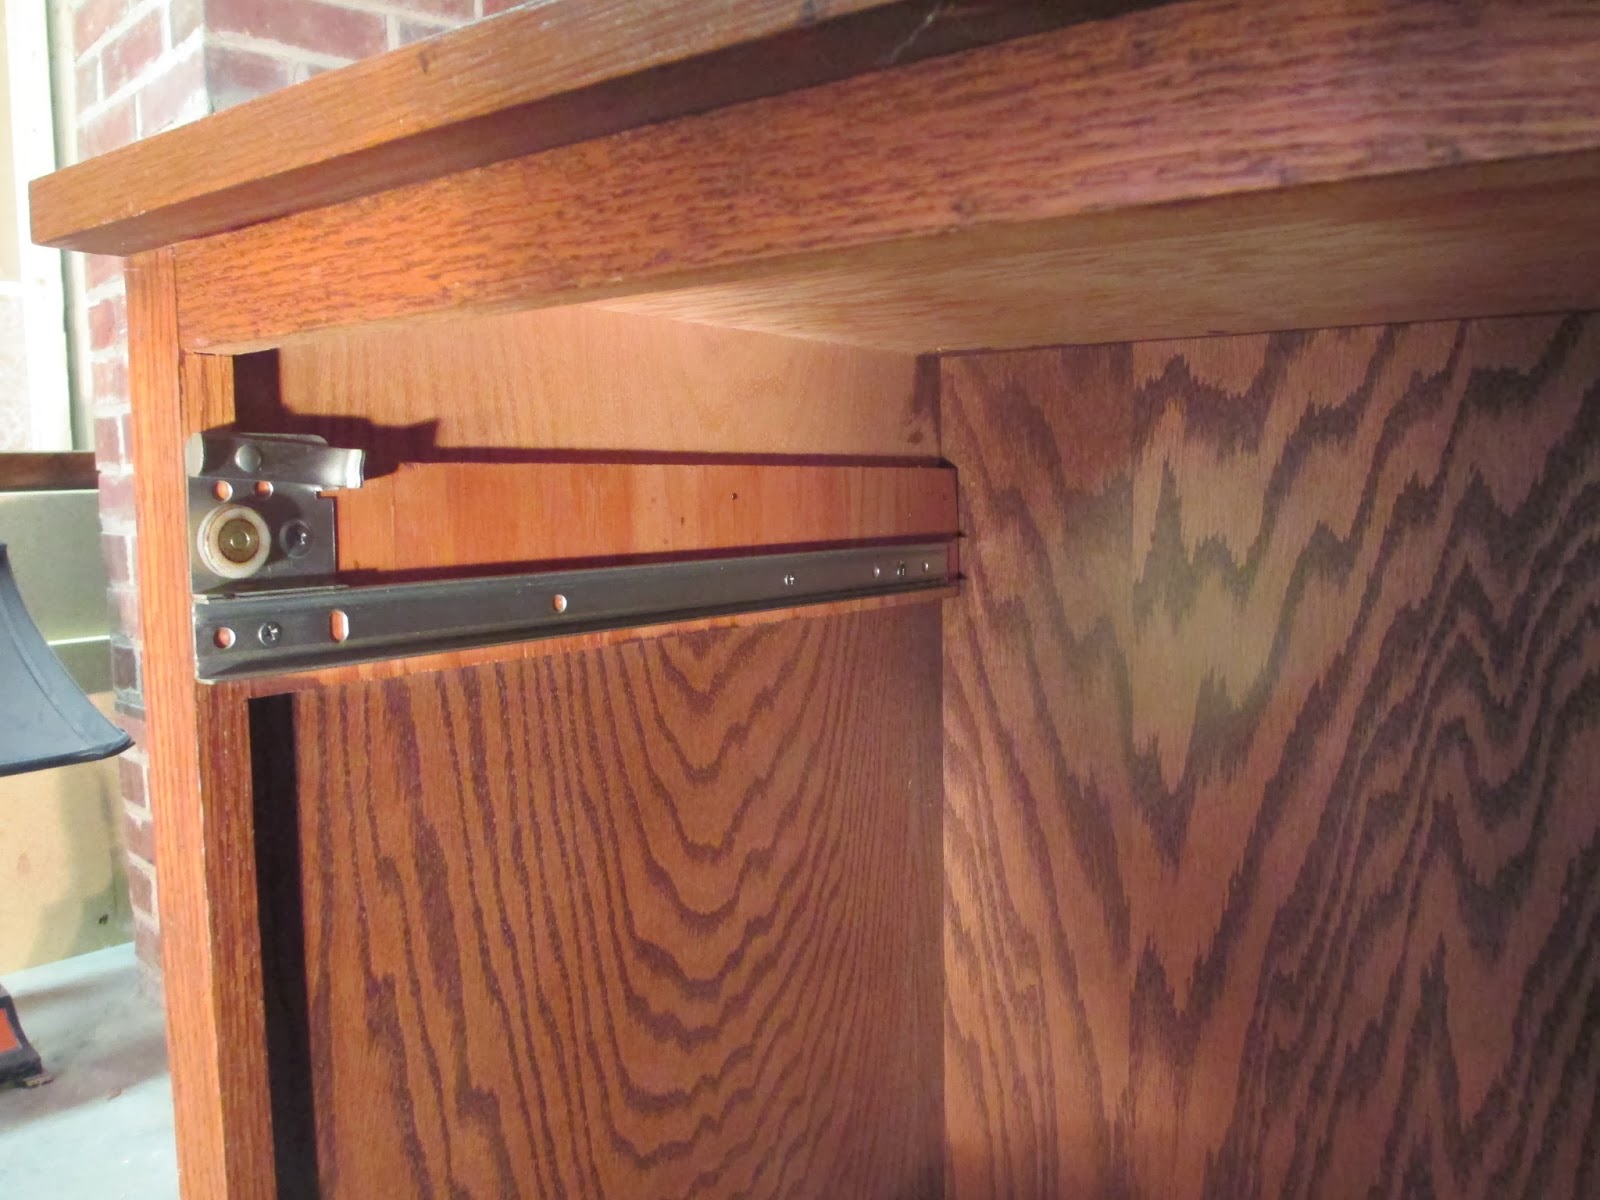
I found this little scrap of cherry out in our wood pile in the garage.  Tacking it to the side of the vanity would hide the disintegration (seriously, why is our cabinet disintegrating??  Oh yeah, because this is what happens when you buy cabinets that aren't made of WOOD!!!) and just look like a piece of base trim.


I lightly sanded everything, and I should emphasize "lightly".  My heart wasn't in the sanding step - even though I know it is the most crucial step to get the primer to stick really well.  You'll notice the electricity is back on - that happened just as I was finishing the coat of primer.  You know what else electricity means???  PRETTY LITTLE LIARS!!!  I set up my Ipad and got a few episodes in while I painted the afternoon away.


Brent helped tack on the piece of base trim and gave it a quick bead of caulk to fill in the gap.


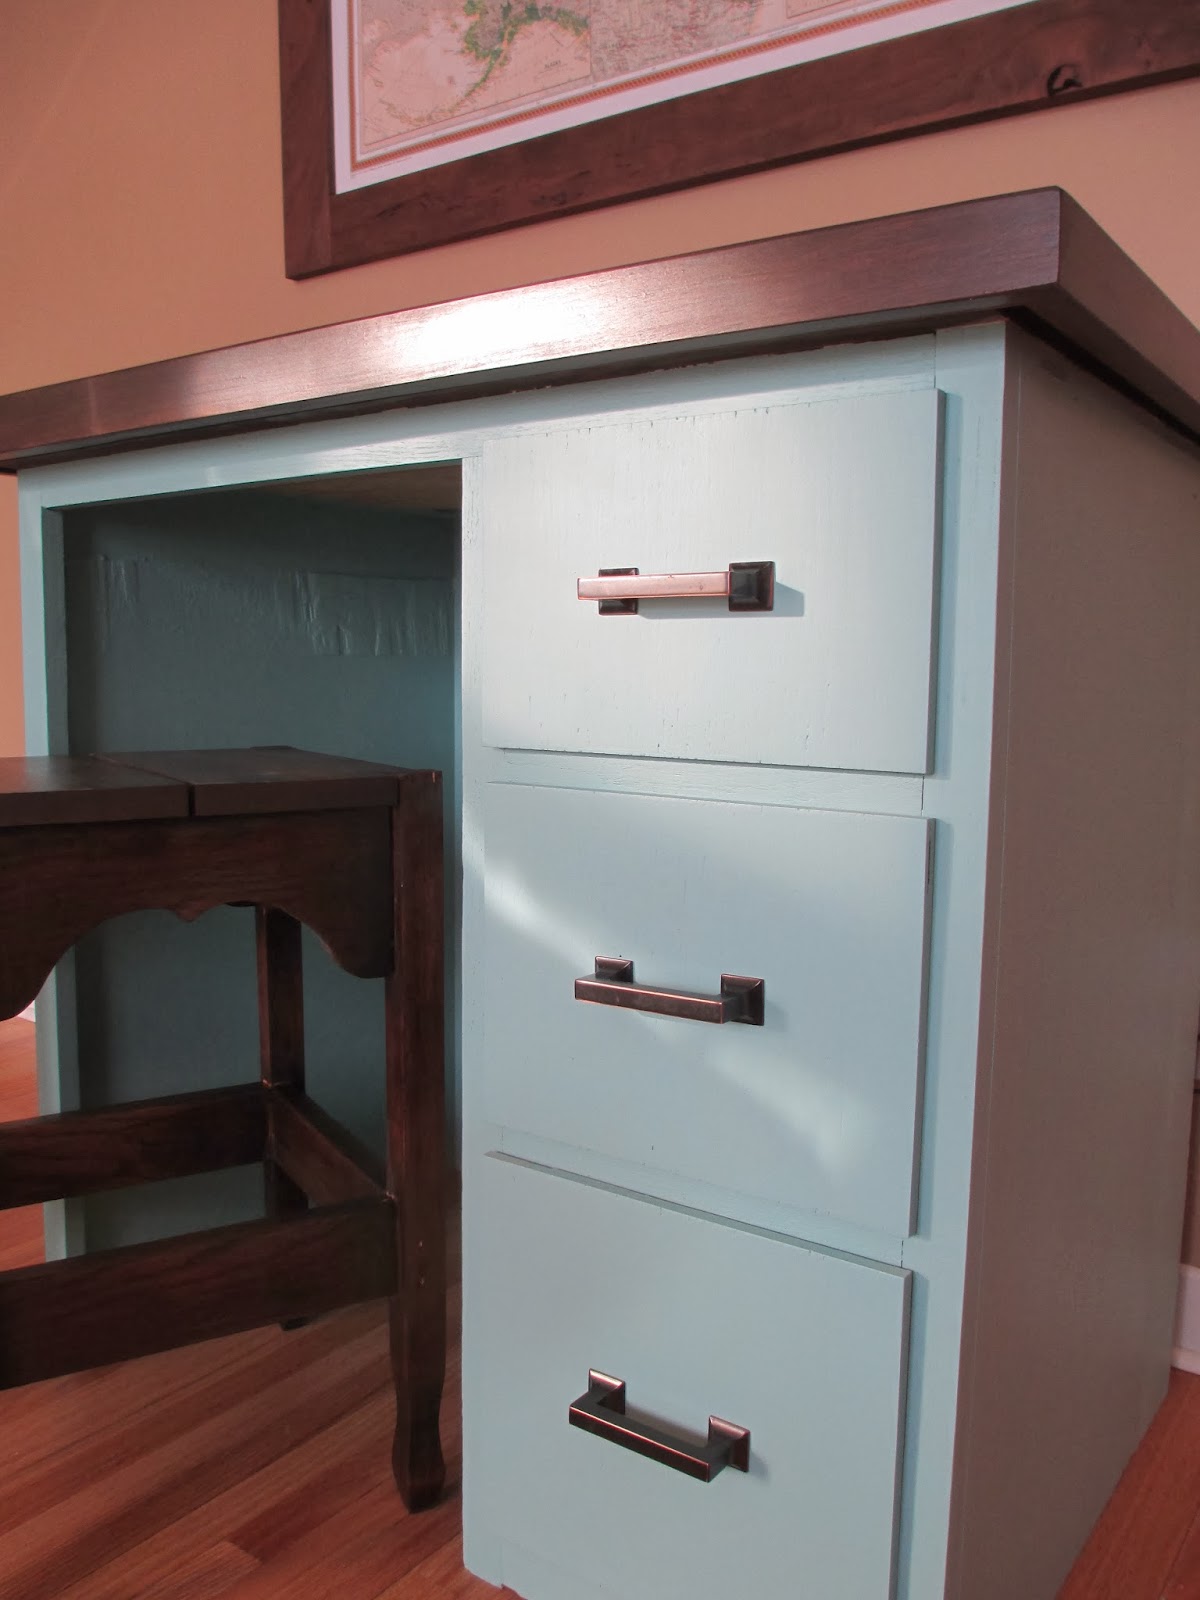
And here we are, all done.  It's not a life shattering change by any means, but I do like that it matches the window trim and doors.


This is the best way I've found to store Emma's hair ribbons, bows and rubber bands.  If anyone else has a genius way that they do it at their house, I'd be open to suggestions.


This paint job isn't going to hold up long, since I didn't sand thoroughly enough, but hopefully it'll make it until remodel time.  The entire time I was painting, the phrase "putting lipstick on a pig" kept running through my head.  I guess you have to work with what you have!


Thursday, February 20, 2014

The Hot Seat

You should know one important fact about me before we get started here - I am ALWAYS cold.  Winter is mostly unbearable to me, my body honestly gets sore from shaking so much.  At least 2 nights/week, I have to take a scalding hot bath - as in - "burn the skin off my bones" hot - just to warm up.  Even though I know this about myself, I still make terrible decisions when it comes to my sleeping attire.  No kidding, on the coldest night of the year, we're talking -40 degrees, I was sleeping in a t-shirt and shorts.  Brent simply shook his head at me while he was snuggled up in his head to toe LL Bean flannel pajamas.

For this reason, I love going to my mom and dad's house, which is only a 15 minute drive from our house - because they have this beautiful gas fireplace that my dad built.  Most of the time, you can find me with a stack of magazines, sitting on the hearth, toasting my backside.  

The hearth is made of three large stones that happen to be freezing cold, so my mom has a few little cushions laying around that fit on the hearth to sit on.  Crisis averted - temporarily.  But she was ready for a more permanent solution.  After finding a picture on the internet of an upholstered seat for the fireplace, we knew we had to make one.


My dad and I did this project together because he is an expert upholsterer.  Well, maybe not an expert, but he can do a wayyyyyyy better job than I could!  That's the funny part about my dad, he knows or can figure out, how to do just about anything.  Except paint.  He refuses to paint.  Or eat watermelon or grape flavored candy.  

These are the only supplies we needed, from left to right, heavy fabric, 2 inch foam, scissors, tacky glue, staple gun and plywood.  Foam is surprisingly expensive so shop around to find some at a decent price.  Our's came from a small hardware store in Sioux Falls called Mac's.


We dad cut a piece of plywood to match the size of the hearth.


After it was cut, we layed it out on the hearth to test it and make sure the size would be accurate.


The foam was a little too big for the plywood, but a quick cut with a pocket knife fixed that.


You'll want to leave a little overhang with the foam so when you wrap the fabric around it, there won't be any hard edges from the plywood.


We layed the plywood/foam on the top of the fabric to get an idea of how much fabric to trim away.


And this isn't completely necessary, but I spread some tacky glue on the plywood to help the foam adhere a little more.  In reality, the fabric would hold the foam in place, but this was just a little "insurance".


After spreading the glue on the plywood, we set the foam on top.  To make sure the foam was pressed on tight, I did a few yoga poses on it juuuuuuussssttt to be sure it was secure.  I planked on our plank.


I had read somewhere recently that when upholstering a corner, you should pull the fabric as you see below first, then you pull the sides up.  Those are my dads hands...not mine.  I know you were wondering.


We tacked one corner then moved to the other end to tack that corner.  When both corners are done you pull up the sides.


Would ya look at the corner on that!  My dad makes this look much easier than it really is.  I kept trying to tuck the corner by myself but it looked like a toddler had done it, so dad would shoo me out of the way to make it look good.  Dad is also the only one in the family that knows how to use a sewing machine...what a guy.


Here you can see that the left side has been pulled up and stapled.


Lots and lots of staples later...


Ladies and gentlemen - we have a cushy seat!


I probably should have turned on the fireplace for the next photo...whoops.


I think this cushion and I are gonna have a lot of hot nights together.  Jealous, Brent?


Monday, February 10, 2014

From Trash to Two-Tone Treasure

Many moons ago, October to be exact, Brent and I had the official pleasure of loading this sweet treat into our van.  A friend had a wall full of built in cabinetry that needed to be removed and this desk was part of that cabinetry.  I knew we could do something with it to give it some more life, I just wasn't sure when we were going to have the time.  For 4 months, it sat in our laundry room, acting as a craft table and assembly station for other projects.


I was really stuck on how to finish this desk.  Should it be for a boy or a girl - should it be painted or stained?  Combing through Pinterest for inspiration, I settled on a gender neutral color for the base and the top would be stained.  The top had been neglected...by me.  You can see pink paint, stain and scratches all over it.


Using an orbital sander, I sanded off the paint.  Note to self...next time, Heidi, don't sand things in the house.  Dust.  Everywhere.  It's too darn cold to go outside though, so where in the heck am I supposed to get any work done??!!  We just bought a wood burning stove for our workshop but I'm afraid it will be spring until we have time to install it.


Sanding the paint off was easy but the scratch marks I had put in while cutting through some screen material were deep wounds.  Deep emotional wounds.  Using wood filler and a putty knife, I filled all of the scratches.


While that was drying, the drawers came out to be primed.  


It was at this point that I decided to completely nix the drawer above the chair area.  The drawer was so deep, like heighthwise, that you would have to have an unnaturally low chair so your legs could fit underneath the drawer.  Then you would end up sitting so low at the desk that the desktop would be at your chest.  So I removed the hardware for that drawer completely.


I made Owen sit on the stool to demonstrate how that top drawer was going to be too big.  He is only 4 years old and skinny as a rail - and his little thighs are just barely going to squeeze in there.  Oh yeah, and the desk is even elevated another 3/4 of an inch because it is up on some supports for painting, so Owen would have had even LESS clearance!


Everything got a coat of primer.


Here's my top in all of it's sanded glory (that's actually not the first time I've said that!).


A coat of walnut stain later and we have this.  FAIL FAIL FAIL!  You can't see it very well in the photo, but the parts where I used wood filler were super obvious and weren't covered up by the stain as I had hoped.  So then I did what any woman would do - I added another layer to try and cover it up.  And by layer, I mean dark coffee glaze.


Another FAIL!  It ended up looking black.  And sparkly.  And it still just looked like a piece of plywood, not the shiny finished wood top I was hoping for.  After whining to Brent for a bit and convincing him the project was ruined and just a big waste of time, he told me he could make a new custom top for it.  Thanks sweetheart!


I moved onto painting in the mean time.  There was a quart of flat paint that I had gotten for FREE from Ace Hardware last fall when testing colors for our workshop.  Suprise - another shade of turquoise!


Brent came home with the new top he had made, it fit right over the top of the old one and gets screwed to the desk from below so you don't see any screw holes.


After a coat of stain...


I put two coats of this poly on the wood top and used the sheep's wool pad next to it to apply the poly.


Now we move onto the stool that was to go with the desk.  This stool showed up at our house one day and I honestly have no idea where it came from.


I'm not super smart, which I can prove if you would have been at parent-teacher conferences when I told Emma's teacher that 11 minus 7 equals 5.  But I am smart enough to know that these points on the four corners of the stool couldn't stay.


Brent took them off with a saws-all.


The existing on the stool could only be described as "shiny".  A lot of high gloss laquer went on that thing!  And I was determined to take it off.  I sanded most of it with the orbital sander and used a palm sander for the rest.  Then I stained it and added some poly to match the desk top.


Here are the final project pictures:


The funny part about this desk is that neither of my children can use it!  Emma already has a beautiful desk that my dad built for me and Owen's bedroom is too tiny to fit a desk.  It would be a great desk for an adult, I sat at it comfortably, and it would hold a laptop perfectly.  For fun, I asked Brent to sit at it - he fit, but he looked like a giant!
Since our children don't have a use for it, we have a special little friend that can hopefully get some use out of it for a few years - and she is most likely becoming a big sister today!!!