Monday, September 30, 2013

Easy Breezy Beautiful Shutters

I knew the workshop needed shutters.  There was too much siding and the windows weren't "substantial" enough...shutters would balance everything out.  So this is a story about the shutters that Heidi built.  Not jack.  Oh yeah, did I mention they cost me less than $5 per shutter to build?!  You should need only one 8' or 10' (depending on your shutter size) pine 1x4 per shutter.  That's cheaper than a large pumpkin spice latte with an extra shot of espresso!  

I was determined to build these shutters 100% by myself, no help from Brent.  Seriously, how hard can shutters be?!  Building them wasn't tricky, but the process of assembling was a little harder than I thought. 

To begin, I took some measurements next to a window to determine how tall and wide the shutters needed to be.  I decided to make them the same height as the top of the window trim and then stop them just above the window sill at the bottom.  Here's my reasoning for that...if we pretended these shutters were able to close over the window, like their original intention, the shutter would almost rest on top of the sill, not cover the sill.


Since I knew I was going to use 1x4's to build the shutters, I just needed to determine if I wanted the shutters to be 3 boards wide or 4, to minimize the amount of cutting needed.  3 boards wide looked like it would be perfect.  


I wanted to begin by cutting my 1x4's to the correct height first.  These happen to be 31.5 inches.  I began by trimming a half inch off of the end of my 1x4 to square it up. 


Now here is a tiny tip.  Since I needed to make 8 shutters and each shutter would be three 1x4's wide...I was going to need to cut this same length 24 times.  Brent said instead of measuring and then cutting each piece, we needed to set up a "stop".   See that short piece of wood clamped to the table on the left side of the picture?  That's the stop.  Instead of measuring each piece, you just slide it to that piece of wood and make your cut.  


After cutting all 24 of my pices, I needed to figure out how wide to cut the piece that would go across the top and bottom of the shutter to hold the whole thing together.  I just laid my 3 pieces out and left a small gap between each one.  When I had the spacing that I liked, we measured across the middle to get a length.  Using the same process as before, I set up a stop and cut 2 pieces for each shutter, so 16 total.

Brent isn't actually doing anything, just posing for a photo.


Owen is learning the ropes.


Here are all of my pieces, ready for assembly.


I laid one out to make sure everything was going to fit together.


At this point I was singing, "perrrrrfeeeecccct!"


Brent gave me another tip here, but did not, for the record, touch my wood (he he he).  He said to get the two outside pieces screwed together first, and then slip the middle piece in last and just eyeball it to make sure you have the same gap on each side.  Then you aren't trying to hold three pieces steady at once.  After I measured and marked 4 inches from each bottom to determine where the cross bar would go, I flushed up the edges and clamped it together.


Then I held a piece at the ends to make sure they were flush there as well.  This took a little adjusting to get them perfect.


Here's what it looked like all clamped together.


Here's the important part...flip it over!!  That way the screws will go in from the back of the shutter and you will not see any screws from the front!!  My mind wandered off on a few of my shutters during this step and I forgot to flip...so those shutters ended up on the backside of the shed where we can't see them.  Oops.


I used 1.25 inch exterior screws, two in each board.  12 total in each shutter. 


In this next photo, you can see how I have screwed the outside pieces together and am lining up the center piece.  I just did the best I could to eyeball it and then sent a few screws through to finish her off.


And this is what they look like assembled.  Adorbs.  


Time to really finish them now.  Owen's job was to give them a light sanding to remove any rough spots.


Here is my primer of choice.  I use it for interior and exterior projects-but not for cabinetry.  I like to use an oil based primer for that.


After I had applied the first coat of color, you could see white lines in the vertical spaces between the boards where my brush couldn't reach.  I found some light blue spray paint left over from a previous project and used it to hit the vertical lines.  My top coat of paint covered the spray paint color.  A person could have prepainted all of the boards before assembly to avoid this problem, but I think that would taken longer.


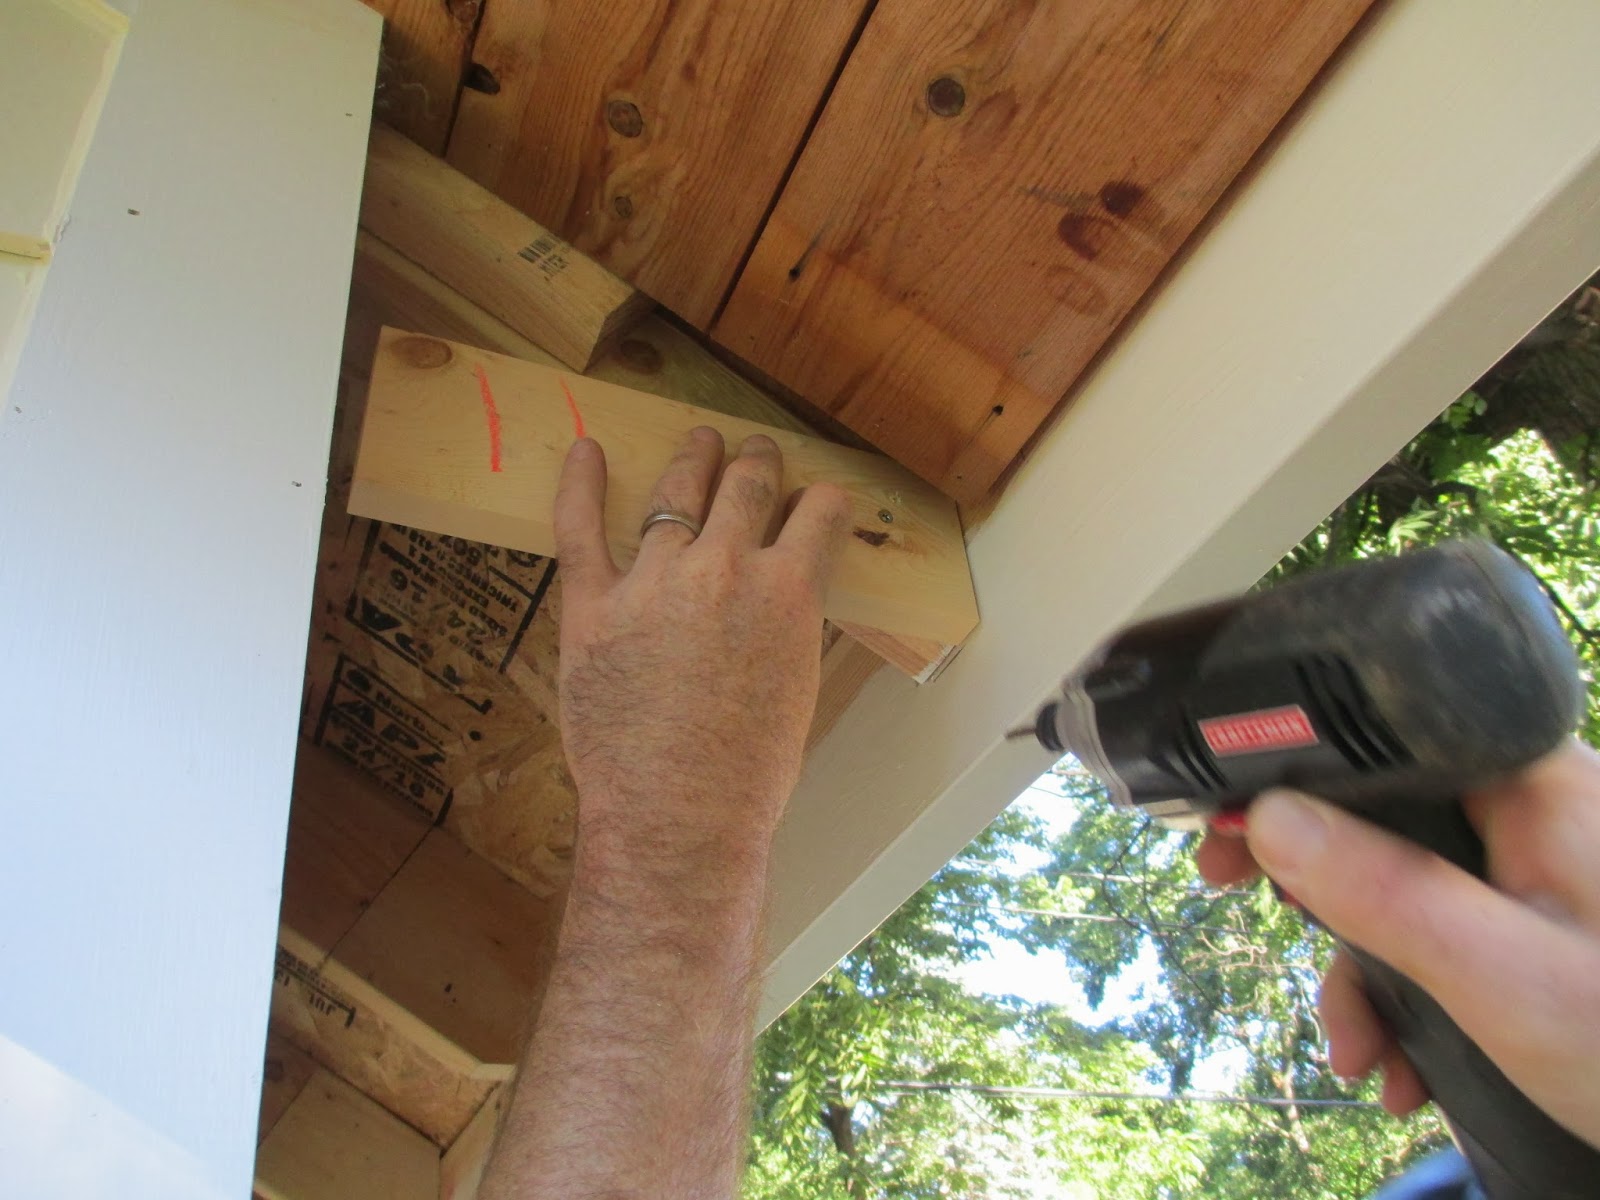
I did allow Brent to hang them.  Since cement board is so hard he has to pre-drill holes.  He just held the shutter up to the position we wanted and drilled through the shutter and the siding.  Then just sunk a screw in.  One on top and one on the bottom.


These are the 3 inch screws he used.


And done!


Halleluja!!


I will probably dab a bit of paint on the screws so they aren't as noticeable.


UPDATE**  The workshop is done - see the final pics here!

Wednesday, September 25, 2013

S.O.S. Part 2

And now for the exciting conclusion to the soffiting saga.  I know you've been hitting refresh on your browser every 10 seconds awaiting this moment.  Maybe soffits aren't cool to you....who am I kidding, they are a bore but they must be dealt with.  And since these are unique, they deserve some attention.

I've already enlightened you with pictures of the soffits under the front and back peaks.  Now we move into uncharted territory...bum bum bum....the sides!  I'm really trying to make this as exciting as possible...fail. Siding had to go up before we could install these sections.

This is what the underside of the soffits looked like before installation.


Brent added a piece of blocking to each roof truss to give him a place to nail the soffit boards to.


Then he just cut boards to fit and wha-la.  Done.


Monday, September 23, 2013

Rockin' It

Usually "rockin' it" and "Kruse's" aren't found in the same sentence together.  That's about to change, but only for one day, then we'll go back to being nerdy homebodies.

Mulch lines one wall of our shed but the back side and the south side were still just dirt.  The dirt needed to be covered in rock right away to prevent mud from splashing on the siding during rainfall.

Friday night, we took an exciting little field trip out to Hardscapes, where they sell bulk landscaping rock.  When you enter their yard, you drive over a weigh station, which surfaced some embarrassing memories for me.  I have vivid dreams and talk in my sleep...often.  Years ago, I was having a dream that Brent and I's bed was going over a weigh station.  So naturally, they needed to weigh our bed once with us on it and once with us off of it.  Calmly, I explained to Brent that I needed to him to get off of the bed for a minute so we could get weighed.  He proclaimed that I was crazy and that I should go back to sleep.  At this point, I couldn't be reasoned with, so I got angry at him for not following the rules.  He wouldn't budge but I got off the bed and laid on the floor.  While curled in a fetal position on the floor, I realized I actually was having a dream, Brent wasn't crazy, I was.  With my head hung low, I crawled back into bed.  Oops.

One ton of rock and $40 later, we had ourselves a bunch of 1 1/2 inch washed landscaping rock.  I had the absolute pleasure of wheelbarrowing most of that myself while Brent was at work.  Before we started putting rock down, there were a couple of things that needed to be done to prep first.

The kids and I went through and pulled all of the weeds and cleaned out any leftover construction debris.


Once it was cleaned out, some holes needed to be filled and dirt regraded to make sure water would flow away from the structure.


That wire mesh fencing is what we put around the perimeter of our yard to keep rabbits away.  Mama ain't happy when the bunnies eat her plants.

Then we put down a double layer of landscaping fabric to keep weeds and dirt from coming up through the rocks.


And finally, the fun part!  Scooping and wheelbarrowing a ton of rock, literally.  


We totally rocked that rock.  Hopefully we won't have to do that again for a looooongggg time.

Monday, September 16, 2013

All Hands On Deck

I spent Saturday morning putting the second and FINAL coat of paint on the workshop.  I would have taken a picture, but you can't tell the difference.  I wasn't planning that the last coat would be life changing, but I thought it would look a teeny bit different...but no.

So after painting, I started to sweat a bit.  Not literally, I don't drink nearly enough water to sweat.  But I did start to worry about my labor intensive paint job.  You see, we don't have any gutter up yet, so when it rains, the water pours off of the roof and splashed the dirt around the foundation onto the siding.  Now that the painting phase is complete, the last thing I want to do is drag out the hose and the paint brush to keep it looking good after a rain storm.  So some immediate landscaping was in order.


We spent a fair amount of time at the home improvement store trying to figure out what type of edging we were going to do and also what we were going to do about the step off the front of the door of the shed.  The best solution we could come up with and that stayed within our $200 remaining budget, was to use the black plastic landscape edging to do the back and sides and I'll show you what we came up with for the front in a few minutes.


This stuff is no treat to dig in.  It doesn't want to bend in the direction you want, impossible to stake down, maddening to say the least.  A garden hose works well for laying out a basic line for where you want it to go.


We found the best method was to have Brent dig the trench and I followed behind him to clear out the excess dirt.


Once he had a decent size section dug out, we layed it in and pounded a stake in.


15 bags of mulch later....


I love to lay mulch down.  Like, not as much as I love to budget or watch gymnastics, but a close second.  It's super easy and gratifying.


Since I was going to have some extra, I cleaned out some plants that were done for the year along the back of the yard.  Usually I don't cut anything back in the fall - for no reason other than because I am too lazy to do it.  But this year I had a reason to, so I suppose I'll do it.


Then I was done.  Total cost for mulch and edging:  $75


Brent's little afternoon project was a little more impressive.  Plus, it took him only 2 hours.  Showoff.


We had a hard time deciding the best way to do an entry for the front.  Stone, wood, we just couldn't decide.  The materials for this deck only cost us $50.  It's NOT a long term solution.  Cedar decking would have lasted a long time but this is just builder grade lumber.  Plus it is dug right into the dirt so  it is definitely only going to have about a 5 year lifespan before it rots away.  That's fine though, we just needed to do something inexpensive to buy us some time until we figure out a permanent solution.  I'll probably still stain and seal it since we'll have it around for awhile.


Not too shabby for a Sunday.  Not having to stare at a dirt pile anymore...hello...it's been a year since we took down our old shed so the back corner of the yard has been a huge mess for a long time, is a great feeling!