On days off, sleeping in until 7am is the goal. But at 5:30am, Brent is getting ready to leave for work and the power goes off, which happened to be Emma's cue to wake up. Next thing I know, I'm getting a little red head to snuggle with and a kid size lantern next to my bed from Brent because of course we have no idea where the flashlights are!
Brent leaves for work, Emma and I fall asleep for exactly 10 minutes and then we hear crying. Owen has woken up, he finds Emma missing from his bed and his bed light won't turn on because the electricity is out. I retrieve my second little ginger and we retreat to my bed to cozy up. Just as I'm drifting back to sleep...my eyes pop open.
No electricity means no hot coffee!!!! I bolt out of bed to the coffee maker to see if it's still warm from when Brent brewed it at 430am...it's warm, but cooling off quickly. I'm nearing panic mode. No microwave to warm it up, can't go to one of the 5 coffee shops within 4 blocks of our house because they will be without power as well. Survival instincts kicked in, I turned on the gas to the stove and lit the burner with a match. I poured what was left of the coffee into a saucepan and took a deep breath. Everything was going to be o.k.
With HOT coffee in hand and candles lit, Emma, Owen and I gathered in the dimly lit living room to wait for the power to come on. Except it didn't. As we neared 8 am, the house began to fill with light. Still no power, so we cleaned some old junk toys out of Owens room. 9am...no power. I was getting antsy, needing something to do.
At that point I walked into the bathroom and our poor cabinetry didn't stand a chance! If I couldn't watch tv, I was going to paint! My parents gave us this great big medicine cabinet out of their house not too long after we moved in. There's a ton of storage in it and it's super functional for us, it's the finish that's been driving me a little crazy.


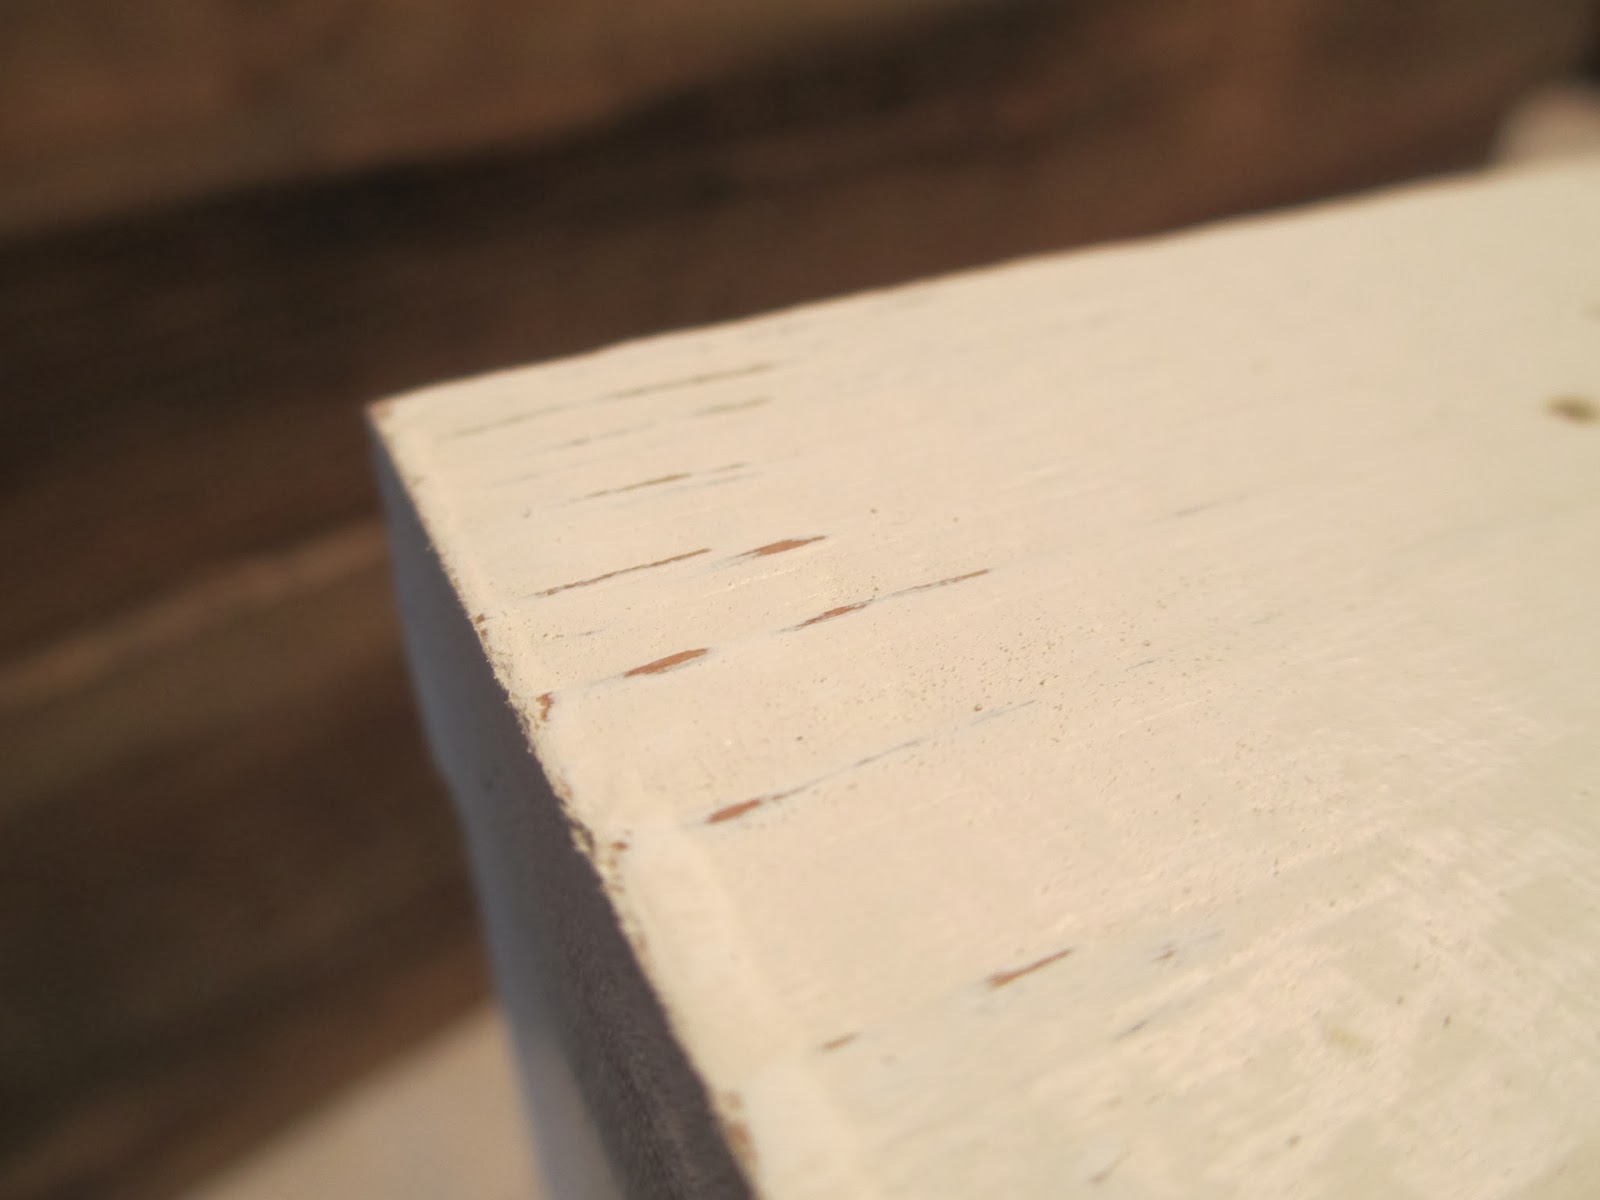
I lightly sanded everything, and I should emphasize "lightly". My heart wasn't in the sanding step - even though I know it is the most crucial step to get the primer to stick really well. You'll notice the electricity is back on - that happened just as I was finishing the coat of primer. You know what else electricity means??? PRETTY LITTLE LIARS!!! I set up my Ipad and got a few episodes in while I painted the afternoon away.


This paint job isn't going to hold up long, since I didn't sand thoroughly enough, but hopefully it'll make it until remodel time. The entire time I was painting, the phrase "putting lipstick on a pig" kept running through my head. I guess you have to work with what you have!

Now would be a good time to mention that I am oak-averse. Meaning, I do not prefer oak and the grain that accompanies it. I can appreciate it for its beauty when finished properly, but if I had to choose, I would pick a darker stained cherry, maple or painted cabinetry instead. It should be noted that we do have original oak flooring with a natural stain, which I really like. Oak cabinets are just not my favorite in our house.
The bathroom vanity has been a problem since we moved in 4 years ago. For some reason it is disintegrating where it meets the floor....as it falls apart, I actually have to sweep the sawdust off of it or vacuum it. Do you have to vacuum your cabinets? Didn't think so. But we are also too cheap to replace it until we've determined a long term plan for this bathroom. It needs a full remodel but it's not at the top of our list. Paint and some new trim would be the fastest easiest way to make it tolerable for a bit longer.
My plan was to paint all of it white, to match the trim and doors in the rest of our house. Knowing that I didn't want to dedicate a ton of time to this project, since it wasn't going to be a long term solution, I cut a few corners along the way. Brent is shaking his head right now because he HATES cutting corners, he would rather do it right the first time. Opposites attract, right?!
I found this little scrap of cherry out in our wood pile in the garage. Tacking it to the side of the vanity would hide the disintegration (seriously, why is our cabinet disintegrating?? Oh yeah, because this is what happens when you buy cabinets that aren't made of WOOD!!!) and just look like a piece of base trim.
I lightly sanded everything, and I should emphasize "lightly". My heart wasn't in the sanding step - even though I know it is the most crucial step to get the primer to stick really well. You'll notice the electricity is back on - that happened just as I was finishing the coat of primer. You know what else electricity means??? PRETTY LITTLE LIARS!!! I set up my Ipad and got a few episodes in while I painted the afternoon away.
Brent helped tack on the piece of base trim and gave it a quick bead of caulk to fill in the gap.
And here we are, all done. It's not a life shattering change by any means, but I do like that it matches the window trim and doors.
This is the best way I've found to store Emma's hair ribbons, bows and rubber bands. If anyone else has a genius way that they do it at their house, I'd be open to suggestions.
This paint job isn't going to hold up long, since I didn't sand thoroughly enough, but hopefully it'll make it until remodel time. The entire time I was painting, the phrase "putting lipstick on a pig" kept running through my head. I guess you have to work with what you have!