Monday, October 21, 2013

Done Da Duh Da....DONE!!!

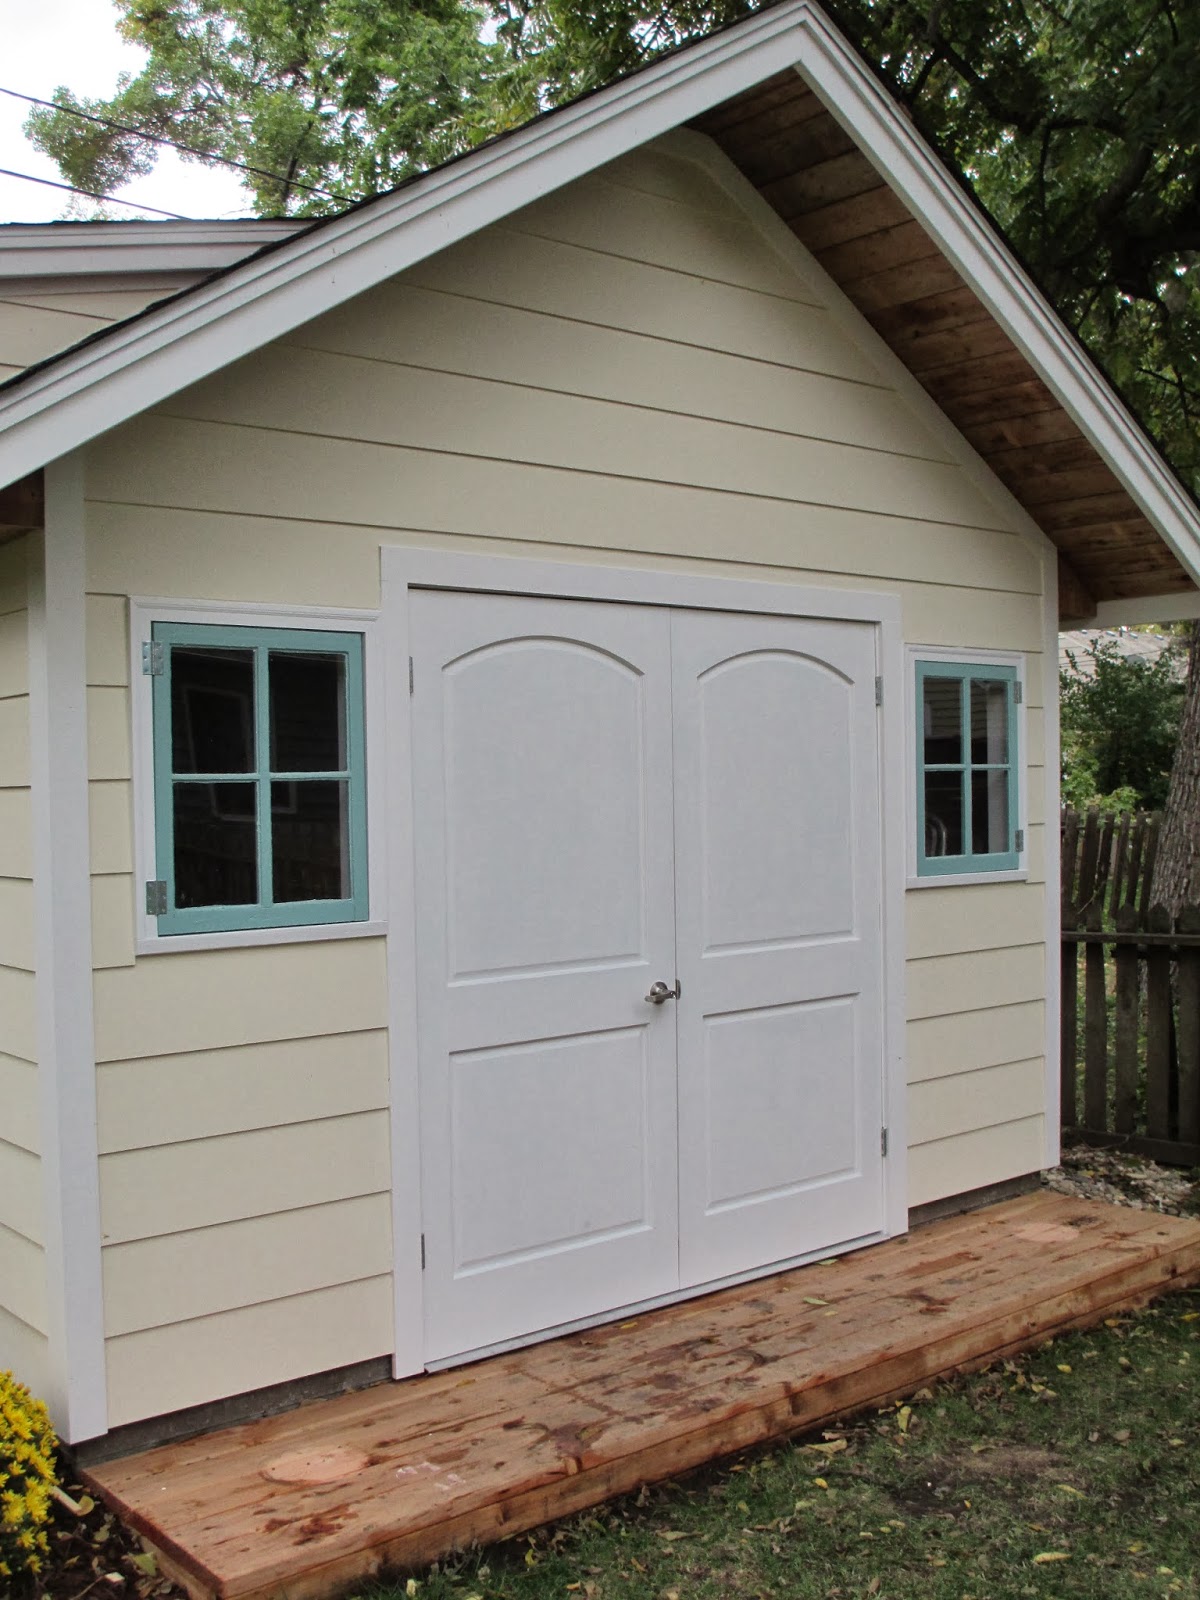
Our last step to prep our workshop for winter was to hang the front doors.  You'll remember how we got a great deal on them here but they needed to be painted to protect them from rain and snow.

Before painting anything that has a finish on it, you must give it a good sanding to rough up the surface so the primer has something to stick to.  We used a palm sander and Brent's muscles.


Zinsser 123 Primer is what I usually use for my priming needs.  Before we primed, we wiped any excess dust residue off of the doors.


To paint doors, we paint the inside profile first.


Even though these were solid core doors with a veneer on them, when Brent had to trim them down to fit the heighth for our opening we were left with the exposed particle board.  You can't just prime that particle board and expect everything to magically turn out ok.  It will suck up moisture like a sponge.  So Brent cut an additional couple of inches off the bottom and replaced the particle board with a strip of solid wood to prevent moisture problems down the road.  Once the doors are all painted, you won't be able to tell where he filled in a new piece.

Back to painting...then the recessed panel...


Then the outside frame.  With primer, you want a very thin coat.  Since the stain was so dark, we opted to do 2 coats of primer.  After the priming step, we applied 2 coats of exterior white paint.  If you look closely at our finished doors, we actually should have done a third coat - but who's looking that close?! Honestly, I was so sick of painting these doors toward the end, I just plain didn't care anymore.  The insides of them still need another coat, but it's just going to have to wait until Spring.  Heidi sicky of painty.


The moment we've been waiting for since last summer...IT'S DONE!!


Here's a quick and easy way to hang French doors - pay Brent to do it.  Seriously, I have more respect for this guy the more I get to know him.  He makes everything look incredible easy.  How I tricked him into marrying me is still a question that passes through my brain.

You have no idea how tricky it is to mount these doors and end up with them meeting together in the middle!  He also put a handle and lock set on the doors for a little security.


Both doors open and swing out, so at some point when we are working with 4'x8' sheets of plywood, we should have no trouble getting them in and out.


My mom and I planted some mums and grasses along the side.  There are also some black eyed susans, but you can't see them because the rabbits already ate them (frowny face).


And this last picture is the one that takes my breath away.  I think it turned out even better than we originally planned.  Everyday while doing the dishes in the kitchen, I get to look out the window and stare at it, and it makes my cold little heart sing.  Gone are the days where we assemble projects at our kitchen table, tracking sawdust through the kitchen to get to our miter saw.  Yep...once we get electricity out there next Spring, life is going to get just a tiny bit sweeter.


How much did all of this cost, you wonder?  Here's a quick breakdown of what we roughly spent to put this little babe in our backyard:

Concrete foundation:  $437
Roof:  $850
Windows:  $70
Doors:  $85
Siding:  $330
Paint:  $100
Landscaping:  $100
Miscellaneous lumber/hardware:  $400

Which is a grand total of $2,372.00.  

I honestly didn't know how much to budget in advance for our workshop...so I just ball parked at $2,000 and saved up that amount before we got started.  Next spring we will need to add electricity and a workbench and some countertops, gutters and lights so we still have some saving to do.  Construction projects always seem to cost about 50% more than you plan for, so I guess this one will be right on track to meet that.  Still not a bad price for what we got.

On to new adventures now that the workshop is complete!

Friday, October 18, 2013

Amazin' Glazin'


My other title was going to be "Amazing Glaze"....like the song "Amazing Grace" but I wasn't sure anyone would get that.

It should be no surprise that my hobbies differ than most gals.  Shopping does not appeal to me (ask anyone that truly knows me), getting my hair done is close to torture - my hairstylist friend can confirm that with the one haircut I get every 8 months, and getting my nails done is completely out of the question unless I happen to be getting married.

So what does get me excited?  More than budgeting, more than going for coffee and certainly more than organizing...glazing wood.  If I have a project that has reached the glazing phase, I become positively giddy.  Adding just a touch of glaze to a plain old painted project just makes it feel a little more "worn in".  Plus, it is super easy and it's impossible to screw up because if you don't like it, just wipe it off!

Here are just a few of the things in our house that I've already attacked.  No piece of wood is safe in our house.  


I'll walk you through this simple process.  Begin by prepping the piece you will be working with.  This is a box I built.  One coat of primer and two coats of antique white later, this is what it looked like.  


Here's an important tip: Glaze can look a little harsh over plain white paint.  Since glaze is usually brown, it just translates better on top of a cream colored base.  This is especially important to know if you have white kitchen cabinets.  Glazed kitchen cabinets are usually an off white of some sort.  When we did ours, we chose a very dark ivory.  For this particular project, I didn't have any cream colored paint, so I mixed some light brown with some white until I achieved the tone I was looking for.  The white needed to be dulled down just a little bit.


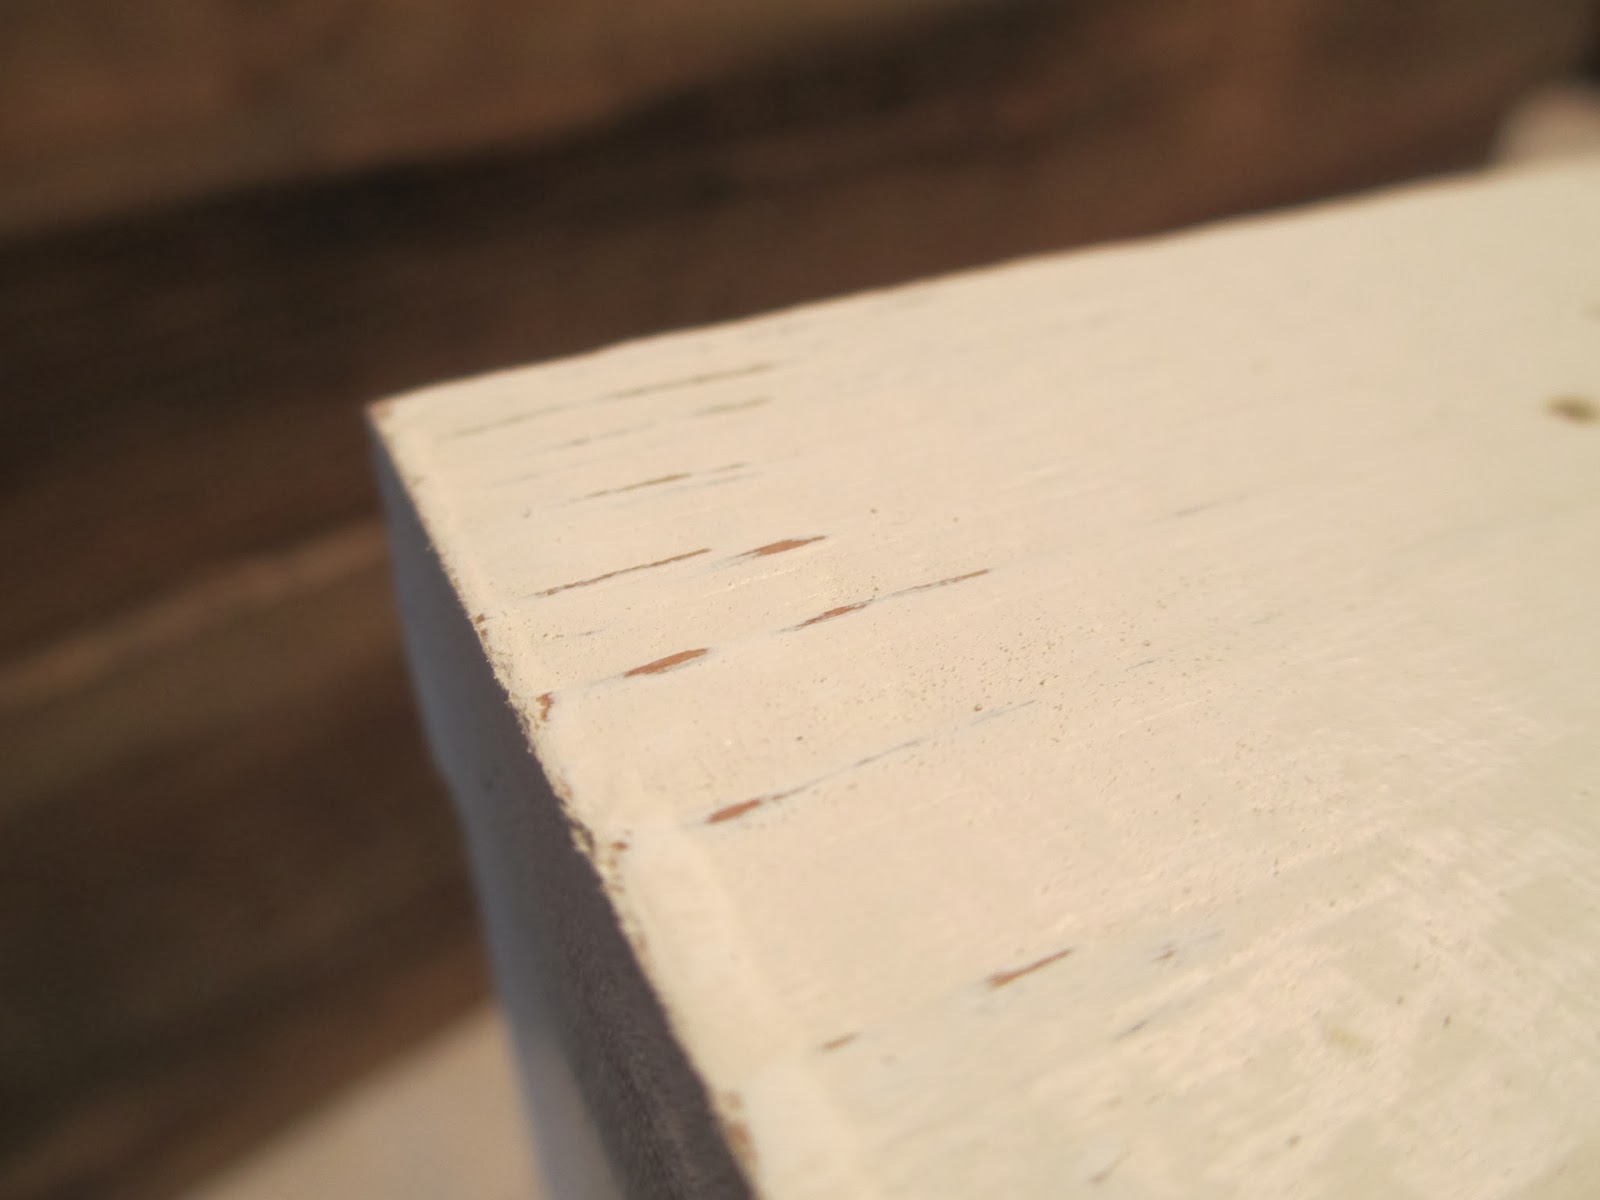
If you want your piece to look a little "worn", it is best to sand it before applying glaze.  Using a sanding sponge, rub as much of the existing paint off as you prefer.  Don't worry if you sand too much, you can always repaint it and start over.


Now that we've sanded a little off, it's time to add a little glaze to age it a bit.  Glaze simply extends the drying time of paint, giving you time to work with it before it dries.  I bought this gallon of clear glaze a few years ago for about $20 bucks and have used it on a bajillion projects (that is not an overestimate).


You simply mix a little of this glaze with any color of paint and stir it together.  The ratio of paint to glaze really depends on what you prefer.  Mess around with it in different strengths until you get the look you are going for.  I had some really dark chocolate brown for my son's room and have found that if I mix that with the glaze, it makes a perfect antiquing color over almost any base coat color.

So I took my mix of chocolate brown paint and glaze and spread it all over the top of my piece.  Doesn't have to look good, just slop it on.


As soon as you've got a section covered, in this case the whole piece, immediately wipe it off with a dry paper towel or cloth.  Keep wiping it off until you get the finish/color you are happy with.  I ALWAYS have a wet paper towel on hand so if it doesn't look good, the wet paper towel will remove all of the glaze.


Here is what it looks like after the excess glaze has been removed.  The glaze dries very quickly so if you just wait a couple minutes, you can flip it over and do the other side.


Much like my mind and sense of humor, I wanted this piece to be a little "dirtier".  I grabbed my trustee sidekick, Martha Stewart Coffee Glaze to put in the little divots and cracks to make them pop out even more.


This one dries super quick and is really dark, so I usually end up using my damp paper towel to wipe some of the excess off.


The next two photos are a nice example of this coffee glaze.  The first one just has my chocolate brown glaze, the second one has the additional coat of Martha Stewart Coffee Glaze applied.  See how it picks up the imperfections a little bit better?


Just for fun, I gave it a quick sand after finishing all the glazing to make it look a little more imperfect.  And the finished product:


If you stain the piece a dark color first, then paint it with your color of choice, skipping the primer step, you will get an effect called a "rub though" which looks amazing.


BEFORE


AFTER


As a side note - this glazing, especially for smaller pieces, is fast and easy.  I did this entire thing in less than 15 minutes in my business attire that I wore to work.