Sunday, February 22, 2015

Love Letters

After hanging the book baskets in Emma and Owen's room, the wall space above them was looking a bit bleak.  I wanted to make some large art to hang above them and came across some inspiration from The Green Palette's instagram feed.
Brent and I set out to make something similar by first sketching our letter templates onto a piece of 1/4 inch plywood.  Using the table saw and a jig saw, Brent cut them out and I sanded them.
Now that we had a template, we wanted to layer a different type of wood on top.  Luckily, we had a 6 foot pallet in our shop!  Brent disassembled it and cut the pallet boards into a few different widths.
To attach the pallet boards to the template, we used a little glue, then laid our piece of pallet board on top, flipped it over and put a nail through it with the air gun.
When all the letters were done, I gave them a coat of Walnut stain.
I wanted them to have a little color so Emma and I brushed on three different colors of blue/grey paint.
 We put the darkest color over all of the horizontal lines to make them stand out more.
We alternated the other two colors of blue/grey on each plank.
After the paint was dry, I sanded each letter to remove some paint and expose the texture of the pallet wood.
 A quick coat of Van Dyke Brown Glaze always seems to tie everything together.  In the photo below, the left side has been glazed and the right has not.
The letters didn't feel finished at this point, so we chose to outline each letter with a small piece of trim.  After the trim was applied, I brushed on a coat of sealer to darken the wood tone a bit.
To hang them, we nailed in some of these clips...
Hanging them proved to be a bit tricky...but we finally got them level.
 I didn't plan on this, but the colors in the letters actually matches the color of the baskets perfectly.
 I guess you could say we all "LOVE" our new art :)

Monday, February 16, 2015

Kids Bedroom Makeover Part 4 - Storage

After building the rolling toy boxes, my eyes began to fixate on the goofy gap between the end of the beds and the wall that juts out into the room.  It's only about 14 inches in that space, so there weren't a lot of options - but it was too big of a gap to ignore.  The only feasible solution I could muster were a set of floating chunky shelves to fill it in.  
The shelves would serve a few purposes, storage for some of the kids bigger bulkier toys/stuffed animals and they would also get said toys up and off the ground, which means protection from our dog, Lily.  She's working through a major chewing phase so we have to be extra diligent to keep the kids' stuffed animals out of reach.
Brent built these simple floating shelves and handed them off to me for finishing.
I stained them the same color as the children's dressers and put two coats of finish on them.
It was sort of tricky to figure out how far to space them apart, so we mocked it up using painters tape. When we were satisfied with the spacing, Brent screwed 2x2 brackets to the wall to support the shelves.
The floating shelves slid right over the brackets and he tacked the shelves to the 2x2 brackets with his air gun.
I stacked Owen's favorite book series on the bottom so they'd be easy for him to get too - plus, Lily doesn't chew up books!
You can see in the photo below how the floating shelves match the dresser being reflected in the mirror.
The mirror you see hanging near the bunk beds was a mirror that Brent made about 7 years ago, it's been hanging on a wall on our second floor for some time, so I thought it would be fun to paint it a fun color and hang in the kids' room.  Emma loves to try on outfits and dance in front of it.  My plan is to paint the bunk beds - still not 100% sure what direction I'm heading in with the color, so at some point, the orange mirror and the orange/wood tone bed won't clash :)
After 3 coats of this orange paint, I glazed the frame to darken and age the orange.
The last piece of the storage puzzle we needed to solve was the "book situation".  I wanted the kids to have access to their books in the room but there wasn't enough floor space for a free standing bookshelf, without it getting in the way.  I found these baskets at World Market and figured they would be a great way to keep the books accessible to the kids!
 We hung four of them on the wall between the closet door and the door to exit the room.
 I was pleasantly surprised just how many books we were able to pack in there!
We're now working on a fun piece of wall art to go above the books - if all goes to plan!

Wednesday, February 4, 2015

Kids Bedroom Makeover Part 3 - Toy Storage and Curtains

Spending money isn't my favorite pastime but there is one thing I'm always willing to buy - curtains!  For Emma and Owen's room, I thought I wanted white wood blinds but quickly realized our windows aren't deep enough for standard 2" blinds.  Plus, I was a little worried about the kids yanking on the strings to make them go up or down.  It feels like we are constantly opening and closing curtains in that room for privacy and sunlight so the idea of messing around with blinds wasn't appealing.  So I switched gears towards curtains - something soft with a subtle pattern.

And this is where Target comes in for the win - AGAIN.  I saw these Nate Berkus curtains and instantly knew they were perfect.  Although, I had to order them online so I crossed my fingers that the color would look good with the wall color we had just painted, Revere Pewter.  As a bonus, they were buy 3 get one free so I paid about $17/curtain, which is pretty reasonable.  My heart thudded a bit as I opened the shipment a few days later - but alas, they were a perfect match!
They aren't exactly light blocking curtains, but if they are pulled shut during the day and all of the lights are turned off in the room, it's still dark enough that Owen can get his nap in.
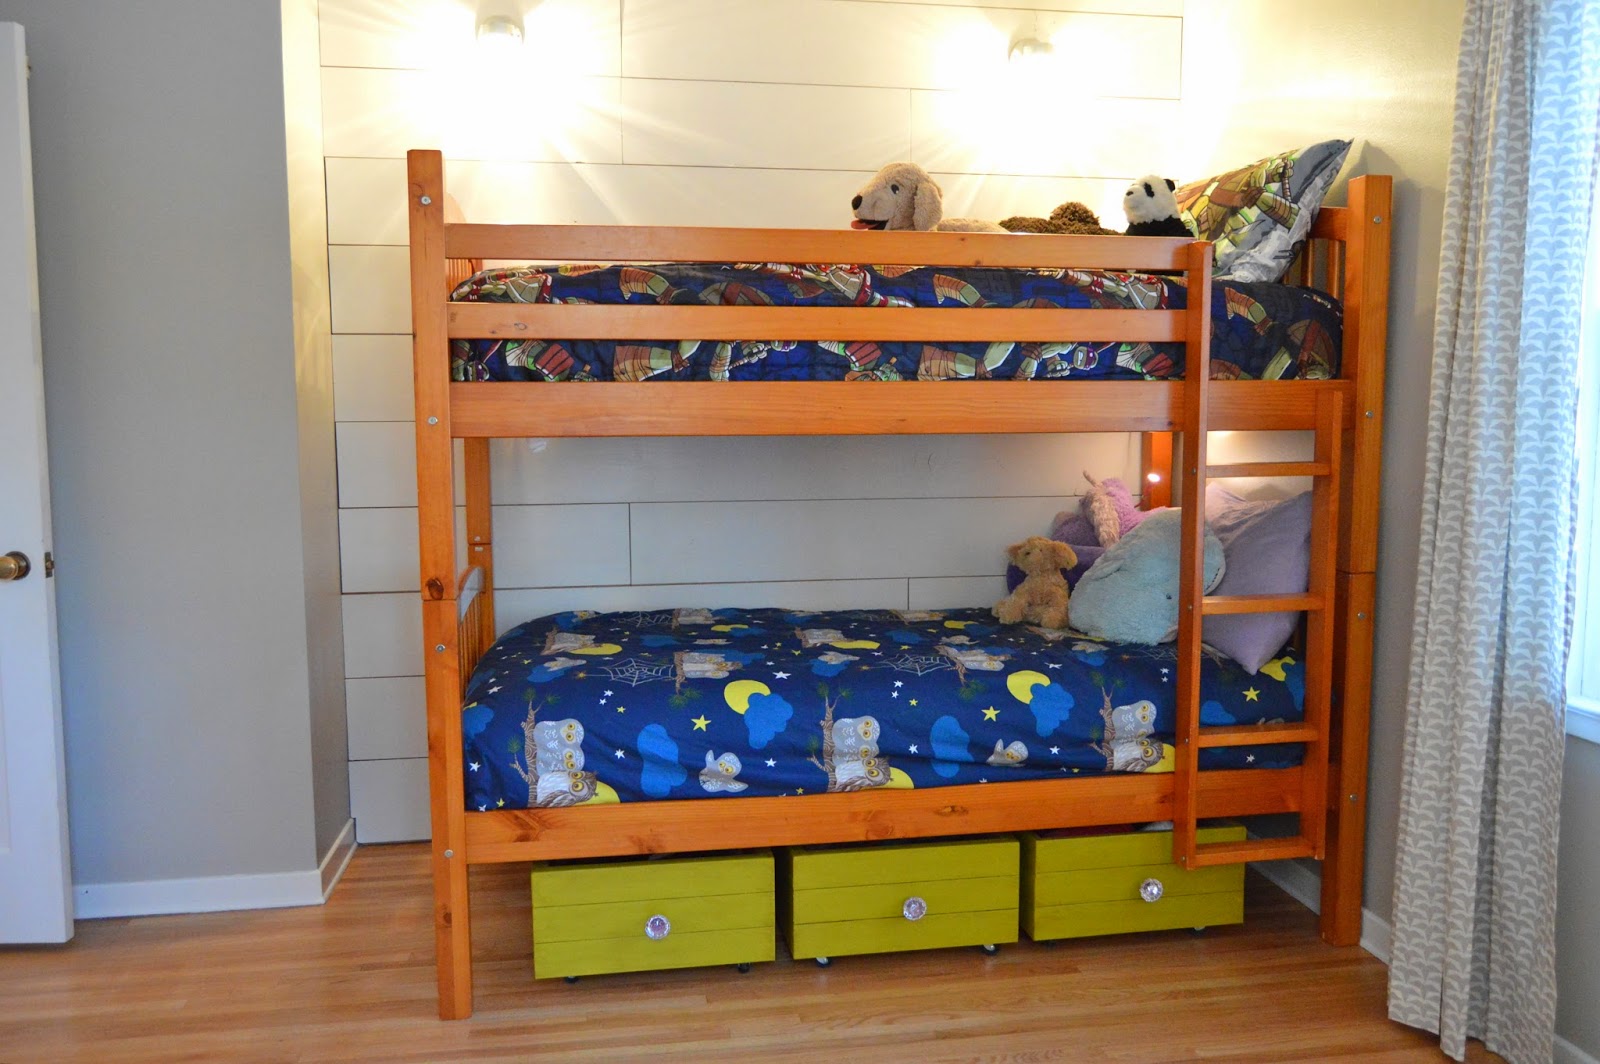
With the curtain selection out of the way, we turned our heads towards the ever growing pile of toys. Now most of the toys are in the kids' old bedroom turned playroom, but I was looking at all of that wasted space under the bunkbeds and knew we could utilize it for storage.

Brent had some old kitchen drawer boxes in his workshop calling my name.  Yeah, I know...who has this kind of stuff just laying around?  We do.  Because you can always figure out a way to re-purpose something so it doesn't end up in a landfill.  Add a set of wheels and we've got rolling toy boxes! And these drawers were pre-finished on the insides so we didn't even have to apply laquer to the insides since that was already done!
Brent added some blocking to the undersides of the drawers and attached the wheels.
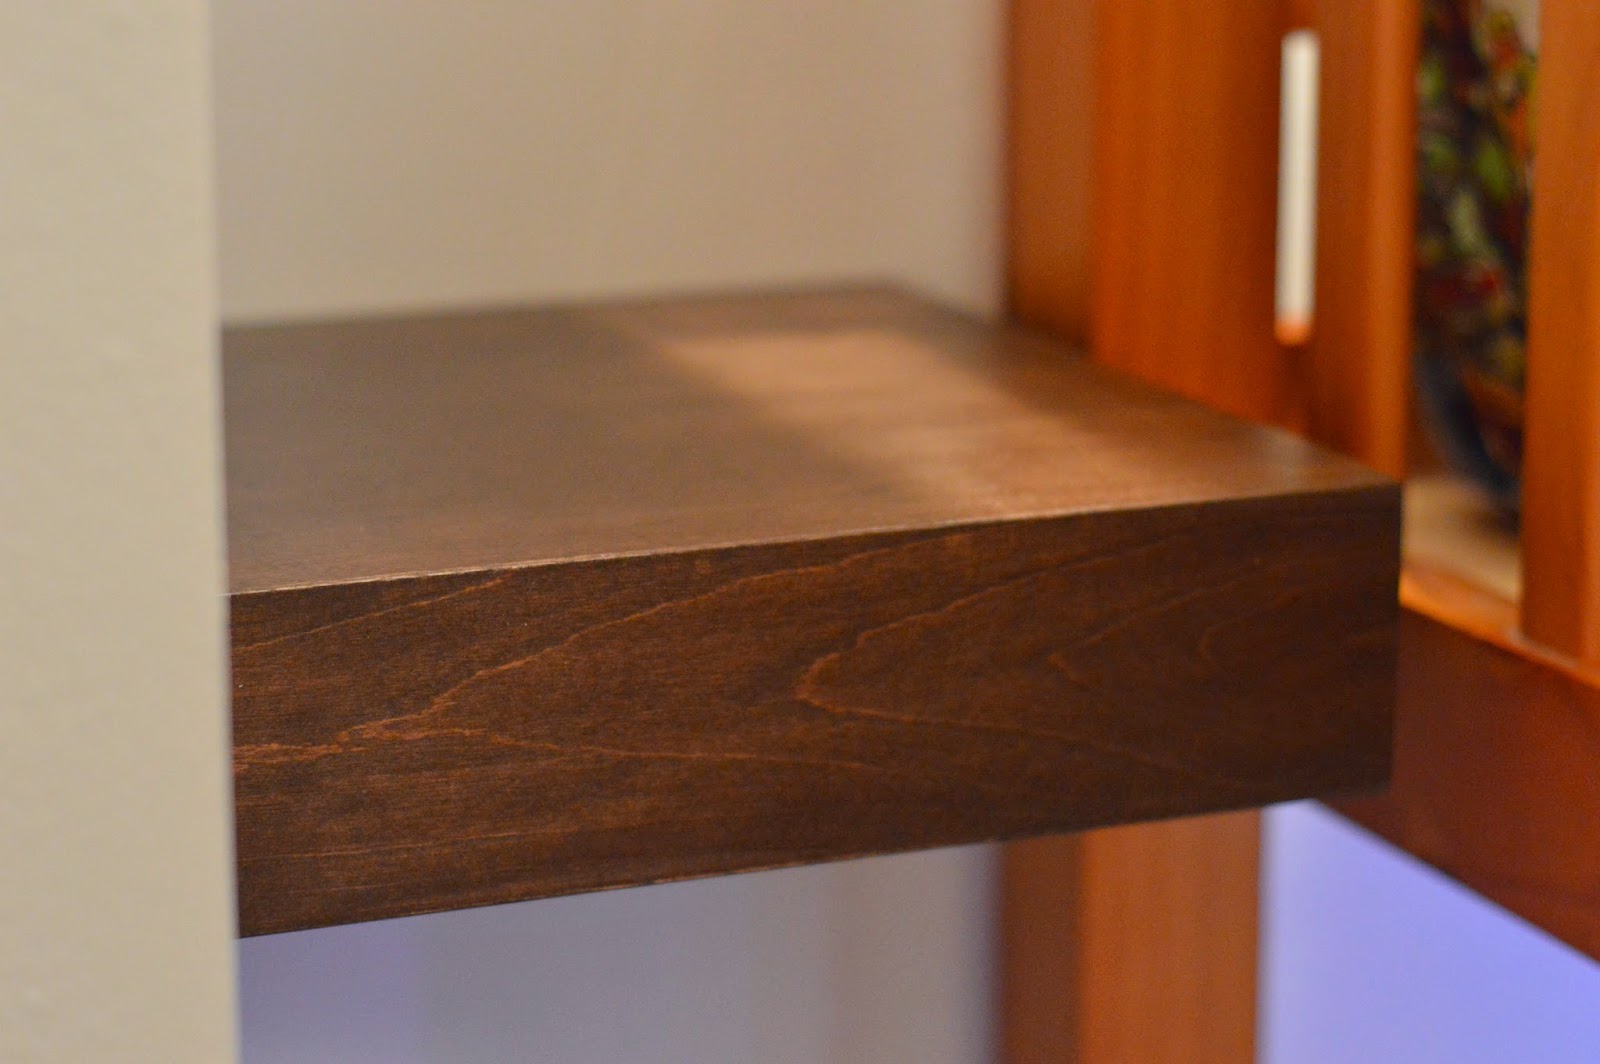
At this point, I knew we weren't quite done.  I didn't want the toy boxes to look like boring old flat boxes under the bed, so I asked Brent to cover the boxes with some hardwood flooring out of the attic of our shop.  A friend of ours recently put in new flooring in her home and she let us take the old hardwood flooring that was coming out.  There wasn't enough of it to actually use it as floor in our house but this is the perfect kind of material for smaller projects.
I didn't take any photos of the actual process of attaching the flooring to the boxes, Brent just used a pin nailer to attach the flooring to the box from the inside so there wouldn't be any nail holes visible from the outside.  He mitered the corners and I filled the tiny gaps with wood filler and lightly sanded before priming and painting.
I was trying to pick a shade of green as close to this coffee mug as possible so I chose the shade on the right.  After they were painted, I realized I probably should have chose the one of the left.  It is a liiitttllle bit more green and less yellow.  The rug I ordered with some green in will be here in a few days so I may end up re-painting the toy boxes if the whole rug situation works out.  I'm just feeling like the green I chose is a tiny bit off. 
I glazed the boxes after painting them to pick up all of the horizontal lines.
 The little knobs came off of these old coat hooks we used to have in Emma's bedroom.
 Emma's dolls and their accessories fit great inside of the boxes!
 
So here's how the room is looking at this point.  Lots more projects coming down pipeline in the next few weeks!