Awhile ago, one of my relatives contacted me and asked if Brent and I could build her a small island/table for her kitchen that would resemble
this image she had seen. Our reply? HECK YEAH!! I was super excited about this one because I knew there was a pretty hefty chance that I was going to want one for myself! Here's a photo of our end result so you can see what we're working towards.
We had a bunch of reclaimed wood waiting around in our garage for a project just like this - but it was rough with a capital "R". The species varied...some was oak, beech and/or possibly birch.
To make it useable, we had to mess around with different ways to make it smooth without losing that naturally distressed look. Our goal was to remove the roughness and prevent splinters but still maintain the deep gouges. First we tried my dad's planer.
It did a good job, too good of a job actually. The wood was becoming too smooth.
So we reverted to a good 'ol belt sander and 80 grit sandpaper. After Brent went over it with the belt sander, I used an orbital sander to clean it up a little further, being careful to protect it's character. With the orbital sander, it's easy to create deep grooves along the sides of the boards to give them a more worn feel.
These are the pieces and measurements we ended up with. The only pieces missing from this photo are the three boards we cut to create the bottom shelf. The bottom shelf pieces were the same length as the top at 39". The total table ended up being 33" tall by 19" wide and 39" long. All lengths are completely customizable to your preferred dimensions.
In order to create the ledge for the bottom shelf to sit across, we had to cut these dado joints. Using the miter saw, Brent made a series of tiny plunge cuts by setting a stop on the saw.
And then my dad showed us how to use a chisel to clean up the joint. Thanks Dad!

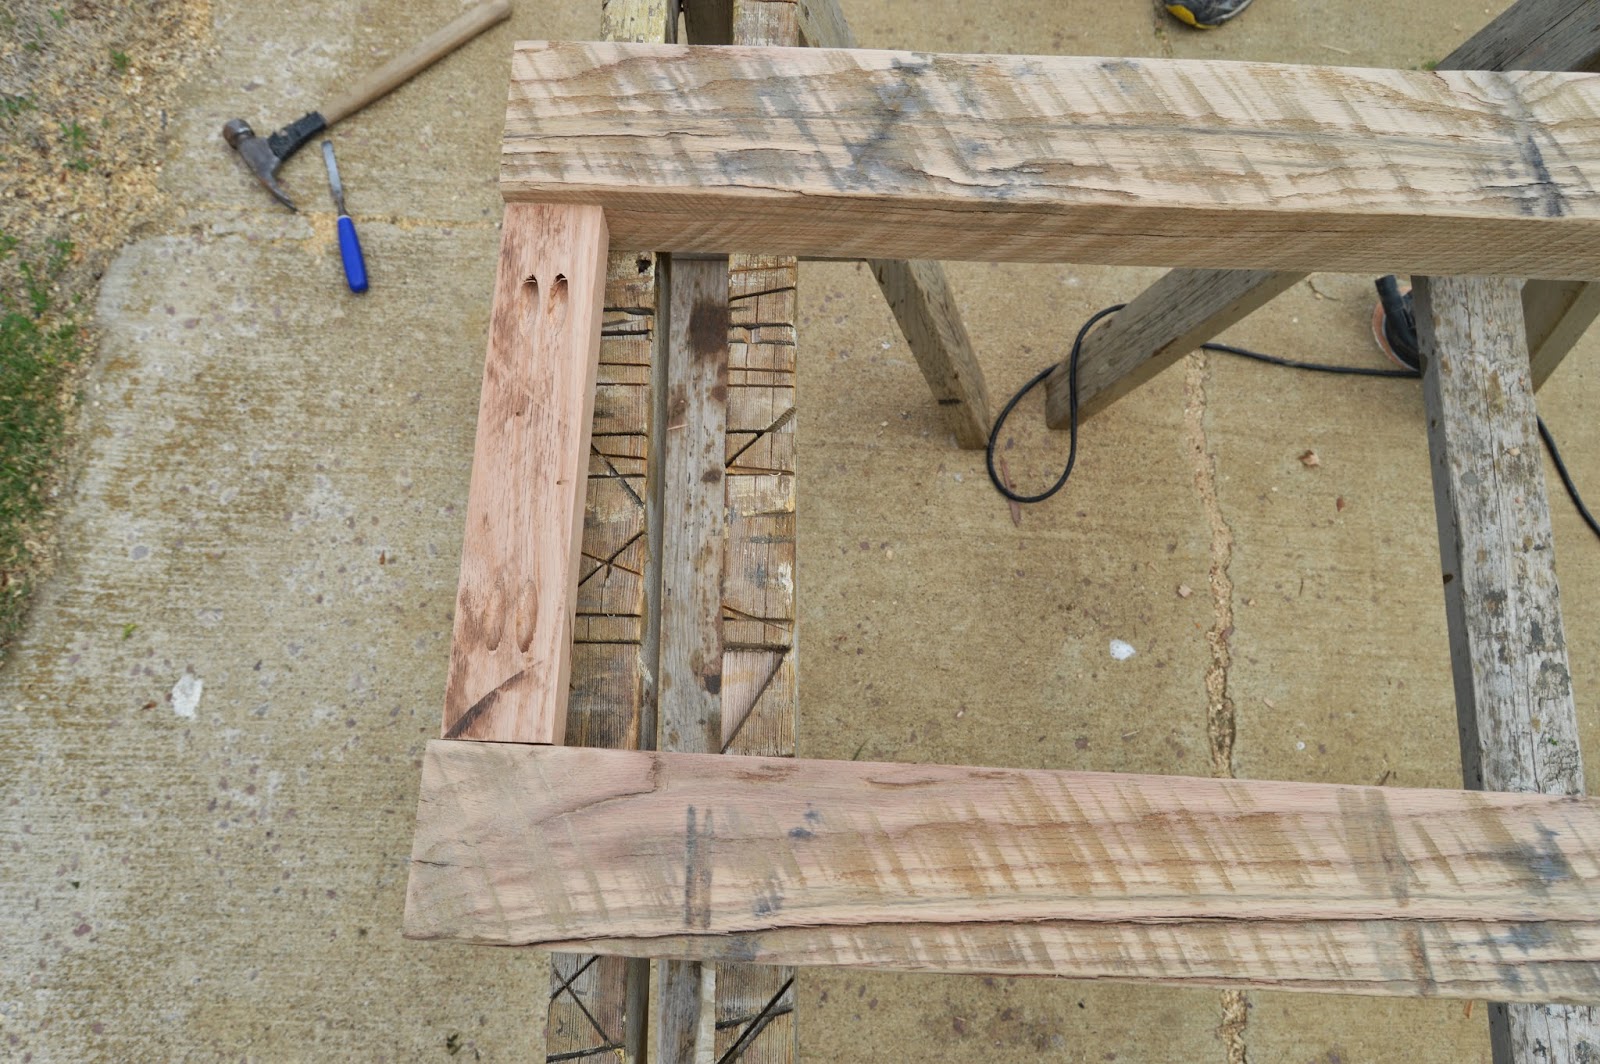
Now with all the pieces prepared, assembly can begin. We used the Kreg to put pocket screws in all of the skirt ends. Using the pocket screws, he attached the small pieces of skirt to the legs.
If there was such a thing as wood camouflage, this would be it! You can barely see the leg and skirt in this photo.
To attach the long skirts on the sides, he used a pipe clamp to keep it solid and straight while he ran the screws in.
Then he attached the other set of legs to the skirting.
Creating the top was a little more tricky. After cutting the boards to length and sanding them, we had to run them each through the planer multiple times to get them all to about the same thickness, otherwise the table top would be way too uneven. We wanted the top pieces to feel a little inconsistent, since a perfectly flat countertop was NOT our goal.
To actually attach the table top to the frame, Brent pre-drilled holes through the skirt around the entire perimeter to allow for 3" cabinetry screws. He also put more bracing under the center of the top to give the top more stability and to have a place to put additional screws. Sorry, didn't manage to get a photo of that part!
For the bottom shelf, we cut the boards at the same length as the top but just notched out a space to get around the legs. For the stretcher holding up the bottom shelf, no screws were used. Just wood glue and clamps until it dried.
You kind of want to touch it, don't ya.
Now that the table is fully assembled, we needed to distress it a little bit more, especially on the ends where we had cut the wood to length. This was the fun part - picture Brent and I standing around this table in our shop and beating the heck out of it! Here are some of the tools we used for distressing. A small saw.
A hole punch.
A chisel.
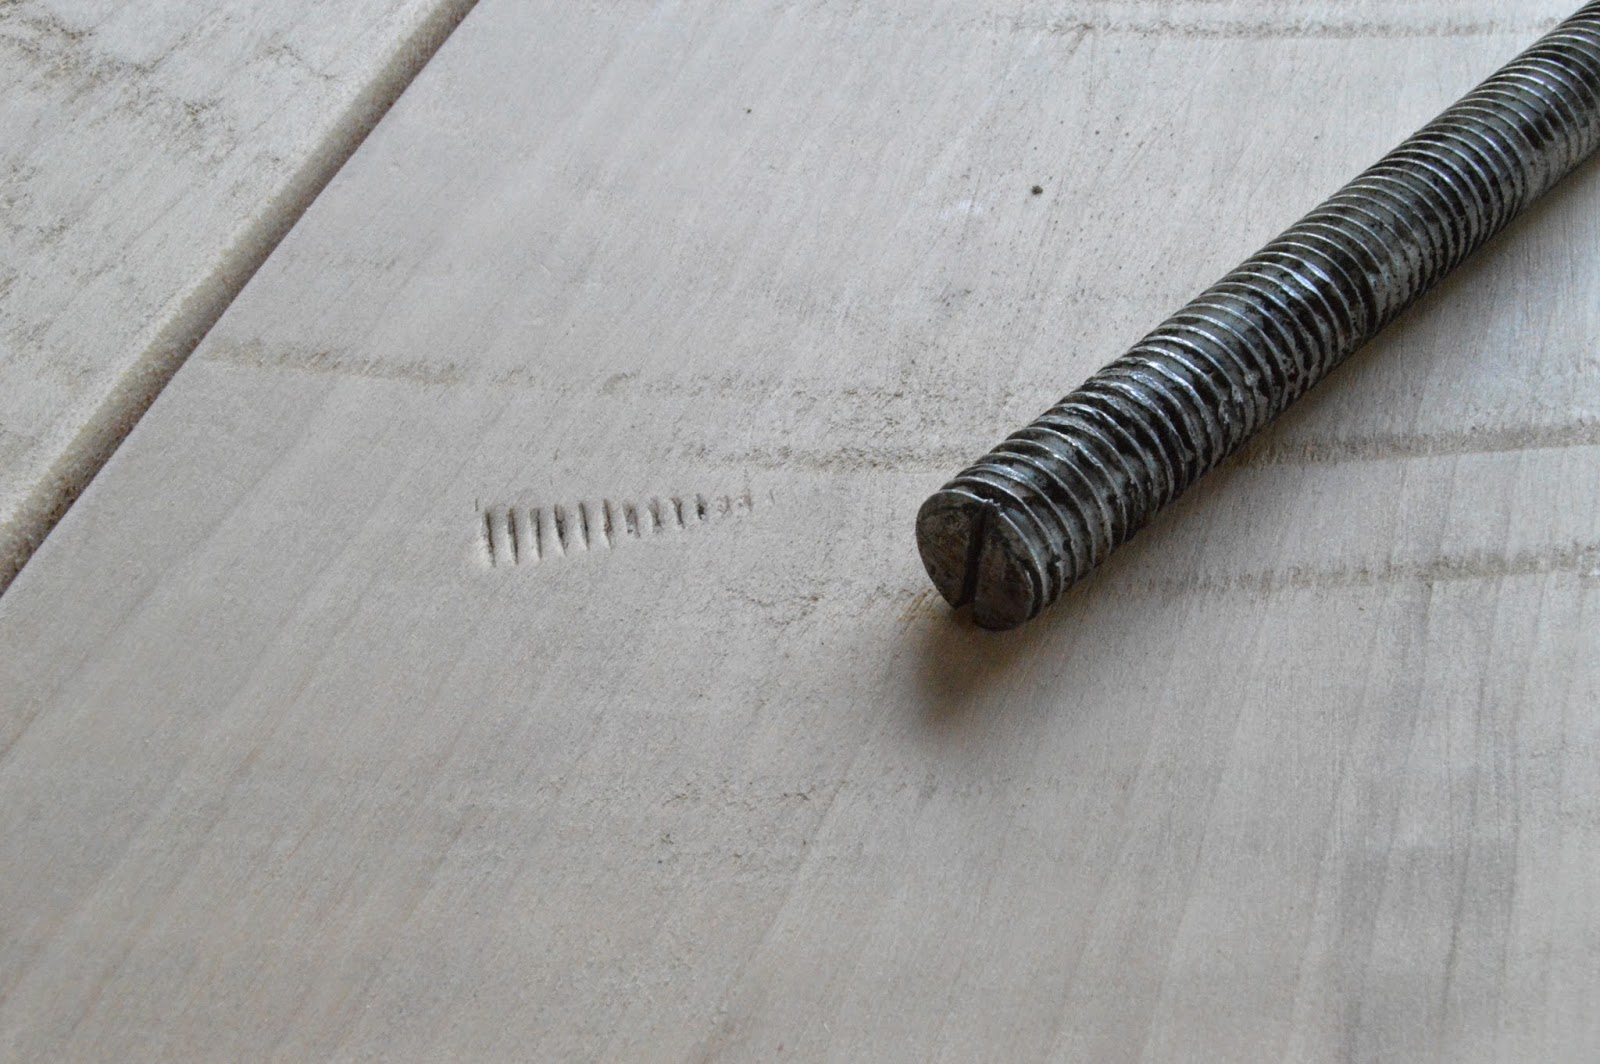
Here we put a bolt on the table top and hit it with a hammer. I also used a hammer around the entire table, focusing on all of the sharp corners and edges.
Then it got a thin, even coat of all purpose white primer and two coats of latex antique white paint in a satin finish.
I've been wanting to use Van Dyke brown glaze for a loooong time (available at Sherwin Williams) and this was finally my chance! This glaze is oil based, which made me nervous to try it but it ended up being pretty easy to work with. You start by slopping on the glaze over a small manageable area.
Using a rag or old torn up t-shirt sections, wipe off as much of the glaze as you prefer.
Then I switch to a cleaner rag to wipe it again.
For this particular piece, I wanted to take off even more of the glaze so I put some mineral spirits on my rag and continued wiping.
Don't be too jealous of my cut off jorts.
Here you can see the bottom and legs have been glazed and the top has not. This table took almost two hours to glaze because the sections must be worked in very small parts. I'm sure once you've done it many times you find ways to speed up the process, but this happened to be my first experience.
We found when we did the top that the deep grooves weren't quite deep enough to hold onto a lot of the glaze. So we left extra glaze on the top and let it dry. The following day, I came back and sanded the top with a sanding block to remove the excess glaze, which cleaned it off the top but left the residual inside of the distressed parts.
Ready for some serious eye candy? And no, it doesn't involve any fire fighters.
The little silver nails you see on the ends are 2" concrete nails we found at our local hardware store. Brent had to pre-drill holes for them as the legs are solid oak and pounding the nails in by themselves could have split the wood.
As you're scrolling through these, think of the millions, that was an exaggeration, several places this table could be used: kitchen island (duh!), coffee bar, console table behind a sofa, entry way table, outdoor bar, potting bench, and my favorite, that I'm hoping to beg Brent for...a tv stand! If we put a back on it to hide the tv cords it would be *picture me singing this* PERFECT!
After we took all of the photos, I applied two coats of indoor spar urethane in a semi-gloss finish to protect the table. If I would have applied the urethane prior to these pics being taken, you would have seen all glare and no glamour.
Sadly, I wish these photos had been taken in our kitchen because it's so dang gorgeous! It actually belongs to our next door neighbors and amazing friends that didn't even bat and eyelash when I asked to "borrow" their kitchen to take these photos! To accomplish that, they even moved their existing island out of the way for us, which has a granite top = translation = HEAVY. The Mrs. acted as my personal set stylist, thank goodness, because I'm terrible at that part and she is, you guessed it, AMAZING! Thanks for helping us out! And PS...love your hooters.
If you like this project, follow us on
Facebook to see what else we're up to!