Showing posts with label garden. Show all posts

Sunday, June 7, 2015

Tips For A New Gardener

Seriously...this gardening stuff is HARD!!  We spent a solid 8 weeks watering our little plants and diligently moving them into sunlight and rotating them.  A few weeks before transplanting, we began blowing a fan on the plants for periods of time to help them strengthen their roots.  And within a week of moving them outside, we transitioned them slowly to the outdoors to let them acclimate so they wouldn't go into shock when transplanted.
Do you know how difficult and time consuming it is to move something like 30 plastic cups inside and outside everyday?  We were using every cutting board and cookie sheet to move them around.  Sometimes the forecast would call for cold temps for several days in a row so we'd have to haul them all the way back to our second floor bedroom so they wouldn't be deprived of sunlight.  At one point, I actually kind of wished they would die because we were spending so much time moving them around!
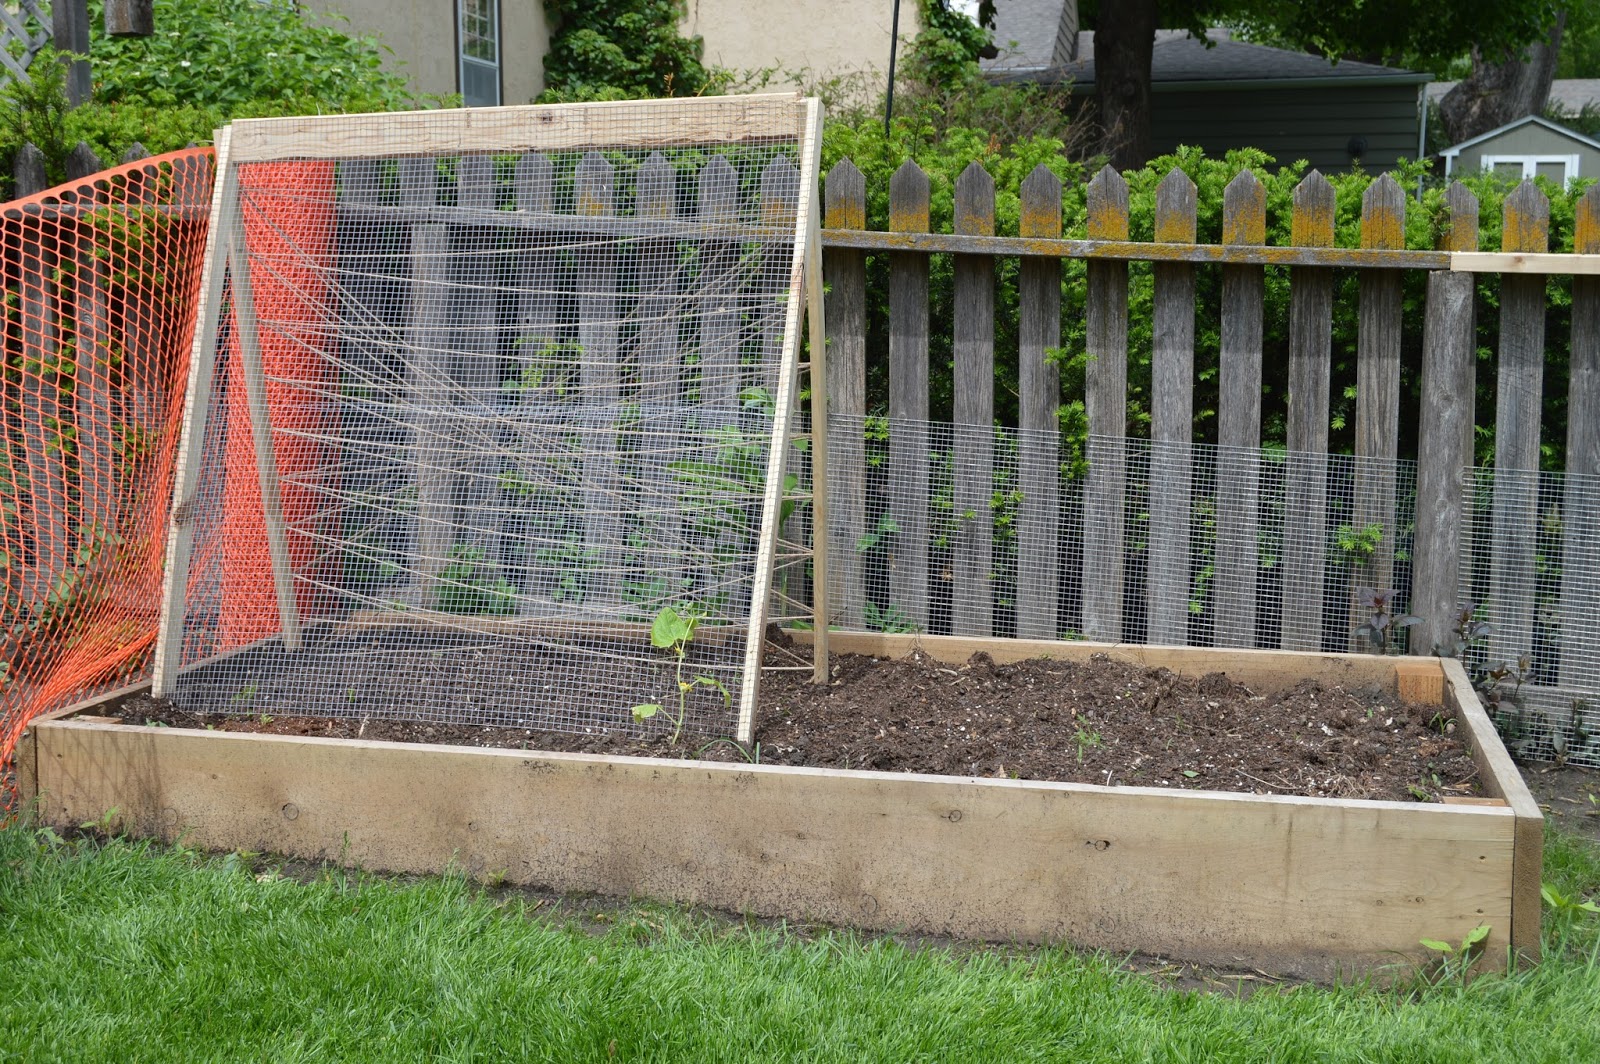
Transplant day finally arrived.  According to the Google, I learned cucumber plants are climbers if they find something to grab onto.  This was good news for us since we have a small garden and cucumber plants take up a lot of space.  Of course, we didn't want to spend money on a fancy trellis so we built one out of some scraps we had laying around.  We had enough leftover chicken wire fencing from the whole "keep the rabbits out" charade - which is working beautifully by the way - to cover the front side of the trellis.  On the back, we strung some twine and crossed our fingers that would work.  I wish we would have built our trellis to sit the other direction in our garden because I honestly don't know how we are going to reach some of them at the back without stepping on the other plants.
That's one of our cucumber plants in front of the trellis.
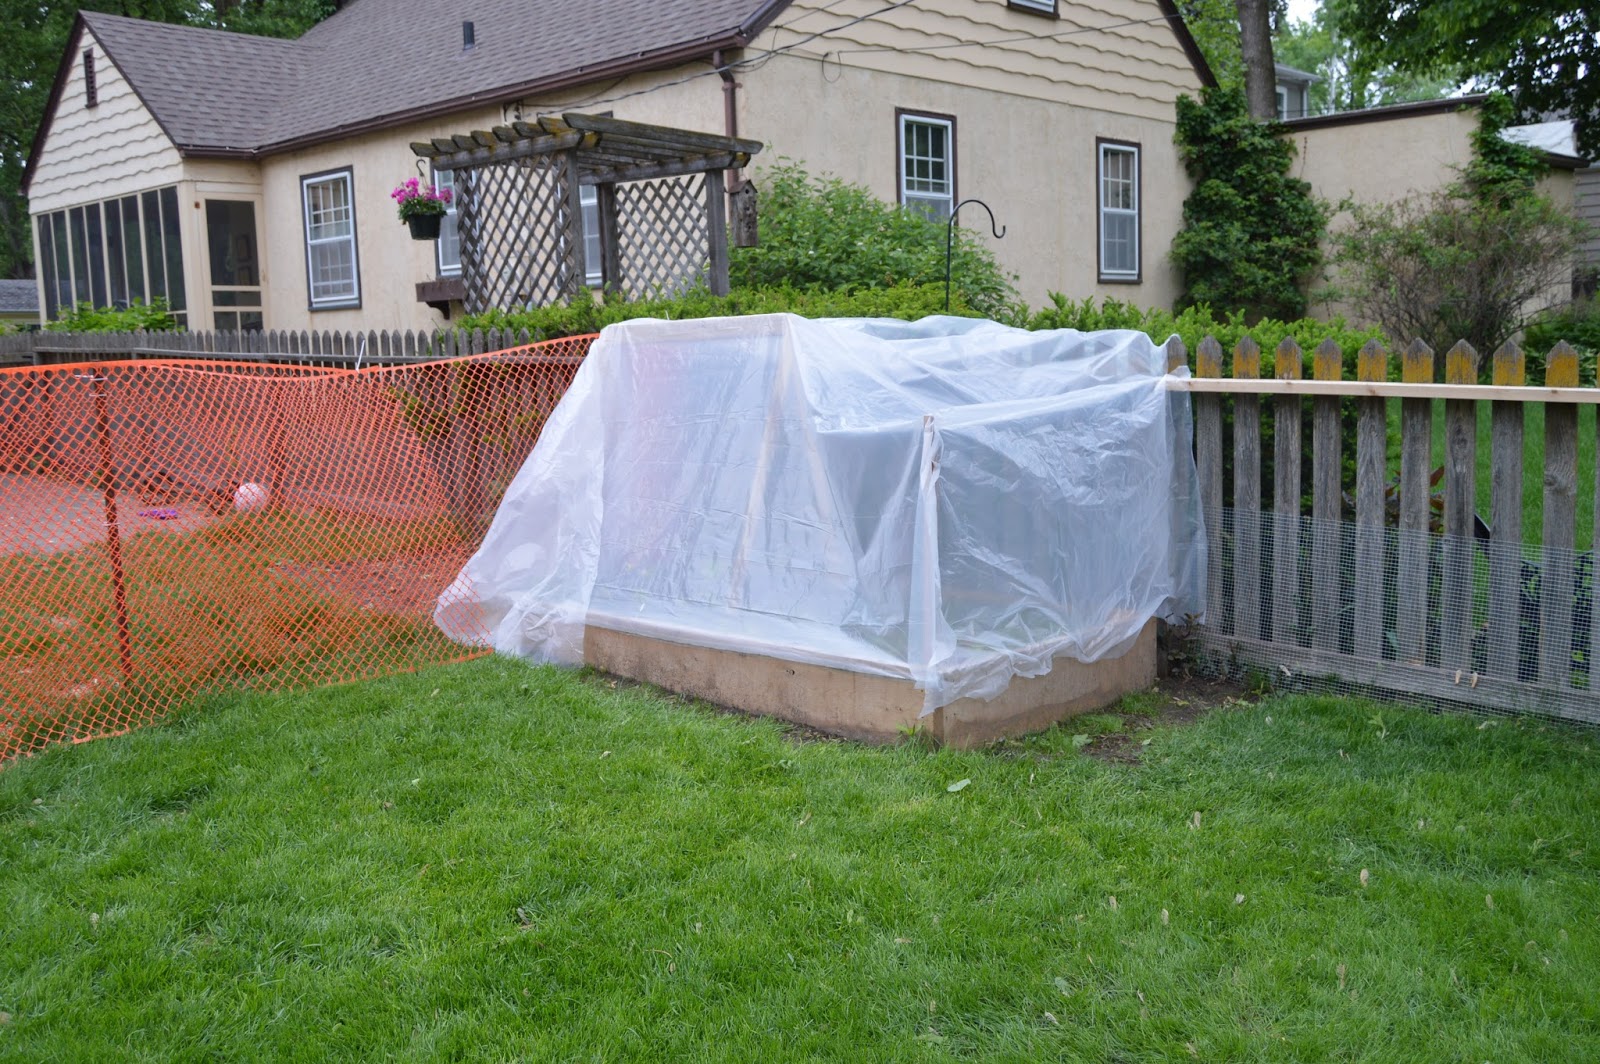
It was almost the last week of May and we were about to leave on vacation for 5 days.  I wanted to get them in the ground so our friend could water them for us while we were away and he wouldn't have to be burdened with moving them indoors and outdoors in their little cups.  Planting went quickly...maybe less than an hour.  Unfortunately, the forecast called for more near freezing temps so we covered the entire garden with plastic.
 In the picture above, the plants in the top left and top right are all cucumbers.  bottom right are beets and bottom left are red peppers.

Unfortunately, the forecast called for more near freezing temps so we covered the entire garden with plastic.
We left on vacation and thought all was good...until our friend called and said the temps had risen...and our cucumbers got cooked.  Sure enough, when we got home, we had to pull most of them out because they were brown and shriveled.
Fortunately, soon after I went with my mom to a local nursery to get plants for our flower boxes.  As I get to the back of the nursery where they keep the vegetable plants my jaw dropped.  They had the most gorgeous, huge cucumber plants - easily 3 times the size of ours - and do you want to know how much they cost???  $.59.  Yes, that's a period in front of the 59.  Less than a dollar.  Do you have any idea how much time, energy and money we spent on supplies to grow our own plants?  Well, it was way more than $.59.  Especially because our garden is so small and we don't have an easy place to grow our plants in the house, we are definitely buying our plants from the nursery next year.  I felt so defeated for the entire day after learning how cheap they were to just purchase.  So I picked up four cucumber plants, 4 green been plants and 3 onion plants.  Total?  $7.00.  Geez.

The picture below are the beets we grew from seed indoors, they are obviously doing well.  But then I found out that each big plant only produces one beet!  That means we are using 1/4 of our garden to grow beets that will likely only feed us one meal.  Can you hear my palm hitting my forehead?  At least they're pretty to look at.
 This next one is going to hurt my ego a bit.  The plant below is the cucumber plant we bought for $.59.
 
The plant below is the one we grew, so lovingly, then cooked under a swath of plastic.
In all...the gardening experience can be described as "Good, Not Great".  Hopefully next year we can use some of these hard learned lessons to avoid a lot of headache and heartache.


Since I'm on a bloggin' roll, might as well show you the flower boxes I planted in the front yard. Here's the before pic without any fun colors.
And here's the after...which unfortunately is still mostly lacking color.  But in my defense, these were just planted so give them a few weeks and they'll start to fill out.  I'm really proud that I tried something other than impatiens this year.  Since these flower boxes only get afternoon sun, I'm stuck choosing mostly shade plants.
These are the plant varieties I chose:
Green Sweet Potato Vine
 Trailing Pansies
 Coleus

 Purple Sweet Potato Vine
So there ya have it...that's what our family has been up to.  I just started a new furniture painting project to day so hopefully I'll have some pictures of that soon - but don't hold your breath :)

Wednesday, April 15, 2015

Kruse vs Rabbit

We live in a beautiful neighborhood with historic homes, mature trees and friendly neighbors.  We also live with an abundant rabbit problem.  Is it like this everywhere?  The only other place we've lived was in Omaha, NE and I don't recall seeing this many rabbits there.  My biggest complaint about these rabbits is the amount of my foliage they eat.  Spending money on new plants is mostly a no-no around here because the rabbits will chew them down to the ground in no time.

My parents live on an acreage where they also deal with a large rabbit population.  I'm afraid my children thought rabbits were actually called d@mn rabbits because that's what my mom would always say when they had eaten more of her plants.

But this year is gonna be different.  If we can keep the rabbits out of the yard, we can attempt to grow a garden!  Growing a garden is high on our priority list...not because we need one more thing to take care of and maintain...but because we think it's important that we learn how to do it and more importantly, that our kids learn exactly where these vegetables come from.

If you've been a homeowner for any length of time, you know that each home improvement project is not just a one step deal.  It's a least a 10 step process that you have to complete before you even get to the project you WANT to do.  This one's no different.

Before we could think about planting a garden, we had to figure out how we were going to keep the rabbits out.  So we installed this metal mesh around our entire yard.  Well, almost...of course we need one last roll to finish up a few spots.  Basically, Brent just used his staple gun to tack the metal fencing to the wood fencing in 7 foot sections.  But even that wasn't easy!  As he was installing the metal fencing, he would find fence posts that were rotted and had to be dug out and replaced.
In the back corner of our yard, there is a gap in the fencing to accommodate this big shrub/tree - honestly, I don't know what it is, but it grows like crazy and we have to cut it back a few times each year.  Brent had to make this little fence to go around it because this is one of the prime entry spots for the rabbits.
After mostly completing the rabbit fence installation, we borrowed our neighbor's tiller to prepare a space for our garden.
Our neighbor (yes, the same one that gave us our workshop) gave us his garden he had built last year because his mom has a huge, bountiful garden a few blocks away that thrives because of adequate sunlight...making his small garden mostly unnecessary since his mom's produces enough to mostly feed the entire neighborhood.
We just took it apart in his yard and re-assembled it in ours.  After the photo below was taken, we also took his dirt from his old garden and moved it to ours in 5 gallon buckets.  Not a fun job - but it was free dirt and how can you say no to that?
With the garden installed and the rabbit fence up we are ready to plant.  Except we have to wait another month until it is warm enough to transplant our plants outdoors.

Here's the little growing operation we have going.  We realized that the warmest, sunniest spot in our house happened to be on the second floor 2 feet away from Brent and I's bed.  So most evenings as we drift off to sleep, there is a faint odor of wet dirt in the room.  Really romantic.
Try not to make fun of us if we're doing this whole "start from seed" thing wrong.  It's probably pretty obvious that we have no idea what we're doing, but we figured the best way to learn is by screwing it up a few times!
 Looks like one of these little guys isn't gonna make it!
I'm just really hoping that the majority of these plants transplant ok out to the real garden.  Growing these things from seed is a TON of work!  Major sad faces would be happening if they all die once they get into the garden.  Tips would be greatly appreciated in the comments.


Sunday, June 15, 2014

Workshop Progress

We are beginning to dip our toes into the uncharted territory or interior workshop construction.  To make this shop functional, there's one small thing we need.  Electricity.  With a bucket load of other projects that had to get done right away, we have resorted to plugging in an extension cord in our bedroom and running it out the window into the backyard to plug in our neighbors miter saw that he loaned us.  You see, we have a brand new beautiful saw, but no power in the shop to turn it on.  Sad face.

A weekend freed up so Brent took the opportunity to progress toward that electrical goal.  I helped for all of an hour, got bored and frustrated that I couldn't do more to help him...plus, that OSB is really heavy...so Brent and I agreed that it would be best for our sanity if I went inside to take a nap.  He didn't actually say that, but that's what I told myself.

Anyway, he installed the outlets and pulled wiring to them.  Wish I could tell you more about that step but I would fall asleep from boredom before I could finish the sentence.  After the outlets were wired, he put insulation between the studs and screwed OSB over top.
Not to exciting, huh.
It's a little hard to see all of the electrical he's been running behind all these cabinets but I can assure you, it's there.
Lookin' good and working hard, Brent!  Sorry I swept up that pile of sawdust and then didn't put it in the trash can so now you have to work around it.  Right next to Brent is our wood stove that we'll be installing.  South Dakota winters get cold but this workshop is gonna be hot, hot, hot!
Once the walls had been insulated and sheathed, he moved onto the same process for the ceiling.  
In this next photo you can see the shop layout starting to come together.  We had a bunch of random cabinet bases to use as the bench to support the saw.
The black and yellow plastic totes under the saw currently hold our wood drop off.  We use the scrap in our backyard fireplace and eventually will use it in the wood stove to heat the workshop through the winters.

We found this wall organizer at Menard's for $30.  It holds a ton of screws and all of the other little hardware pieces that we usually have just floating around.
 Here's the roof, mostly insulated with a little bit more sheathing to go.
 And lastly, we added some exterior lighting to the workshop.  We are still without electricity back there, so we can't turn them on yet but they are motion activated so we didn't even have to put them on a switch.
To wrap up the outside we'll still need to add some gutter.  I'm trying to talk Brent into using rain chains instead of downspouts if they aren't too expensive.  Does anyone have experience with rain chains and whether or not they work well?  Luckily, we don't really have to worry too much about keeping water away from the foundation like you would in a house but we still need the water to shed away from it.

Friday, May 17, 2013

Reclaimed Door Potting Bench

Our neighbor recently requested that we build a potting bench for her to use next to her compost bin.  Bending over and lugging pots had become tiresome and we figured there was a better solution.  

A friend of ours gave us an old door that had been lying around in his grandfathers barn.  It's a solid core door that has already been outdoors for years and has held up just fine.

Some of the styles were coming apart, so a few days before starting this project, we put extra wood glue in the joints and clamped them overnight.

Using the original hinges, we attached the door to the shed we standard exterior screws so that the door would hinge up.  We used a few 2x4's to then support the door while we screwed eye bolts through the outside corners.  Eye bolts on the shed were aligned to the eye bolts on the door - so when you fold the door up, the eyebolts are next to each other.  This way, you can use a heave duty metal caribiner to secure the door in an upright position.


Medium strength chain was cut to length to allow 
the door to sit perfectly level when unfolded.


Total cost of the project: $15 for chain and eye bolts

Monday, May 13, 2013

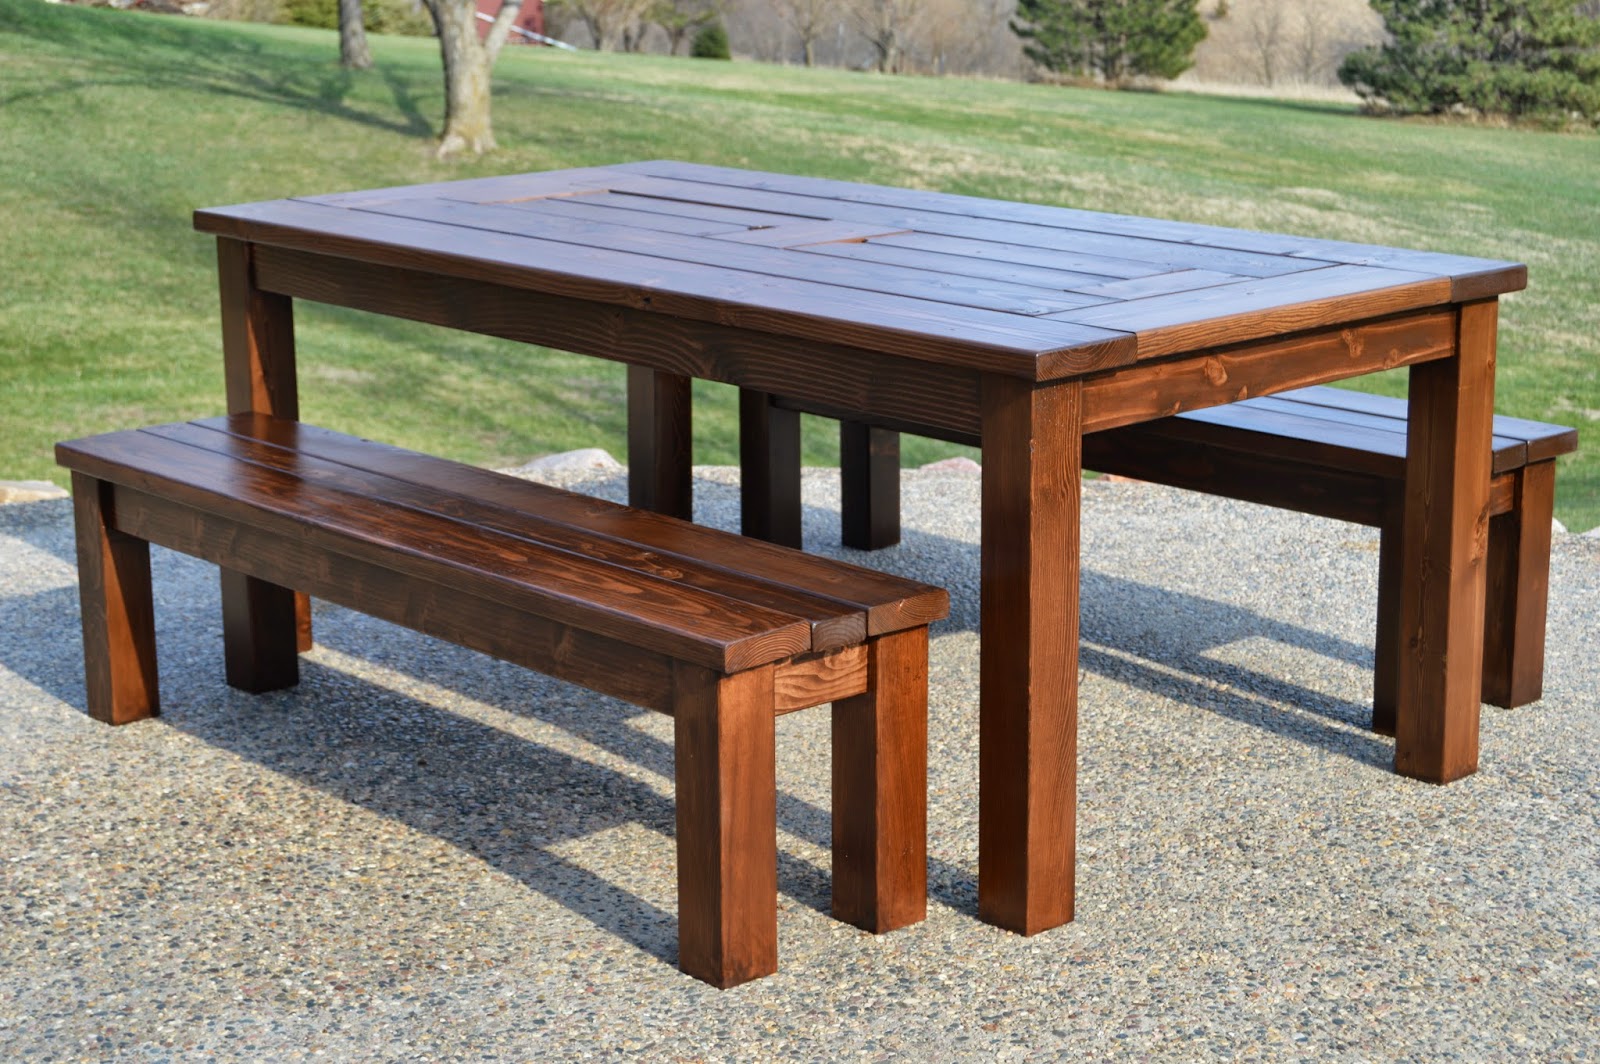
Patio Party Table with Built In Beer/Wine Ice Coolers


Detailed instructions and photos are now available!!  Please follow the link to Remodelaholic to find them!
http://www.remodelaholic.com/2014/04/build-patio-table-ice-boxes/


We built this patio table with flower boxes set down inside of them.  You could put drinks, dips, or even flowers in them.  Fill them with water and throw some floating candles in there!                             
Patio Table with covers on
Covers remove
Patio table with ice chests

If you like this project, follow us on Facebook to see what else we're up to!