Many moons ago, October to be exact, Brent and I had the official pleasure of loading this sweet treat into our van. A friend had a wall full of built in cabinetry that needed to be removed and this desk was part of that cabinetry. I knew we could do something with it to give it some more life, I just wasn't sure when we were going to have the time. For 4 months, it sat in our laundry room, acting as a craft table and assembly station for other projects.

I was really stuck on how to finish this desk. Should it be for a boy or a girl - should it be painted or stained? Combing through Pinterest for inspiration, I settled on a gender neutral color for the base and the top would be stained. The top had been neglected...by me. You can see pink paint, stain and scratches all over it.

Using an orbital sander, I sanded off the paint. Note to self...next time, Heidi, don't sand things in the house. Dust. Everywhere. It's too darn cold to go outside though, so where in the heck am I supposed to get any work done??!! We just bought a wood burning stove for our workshop but I'm afraid it will be spring until we have time to install it.

Sanding the paint off was easy but the scratch marks I had put in while cutting through some screen material were deep wounds. Deep emotional wounds. Using wood filler and a putty knife, I filled all of the scratches.


While that was drying, the drawers came out to be primed.

It was at this point that I decided to completely nix the drawer above the chair area. The drawer was so deep, like heighthwise, that you would have to have an unnaturally low chair so your legs could fit underneath the drawer. Then you would end up sitting so low at the desk that the desktop would be at your chest. So I removed the hardware for that drawer completely.
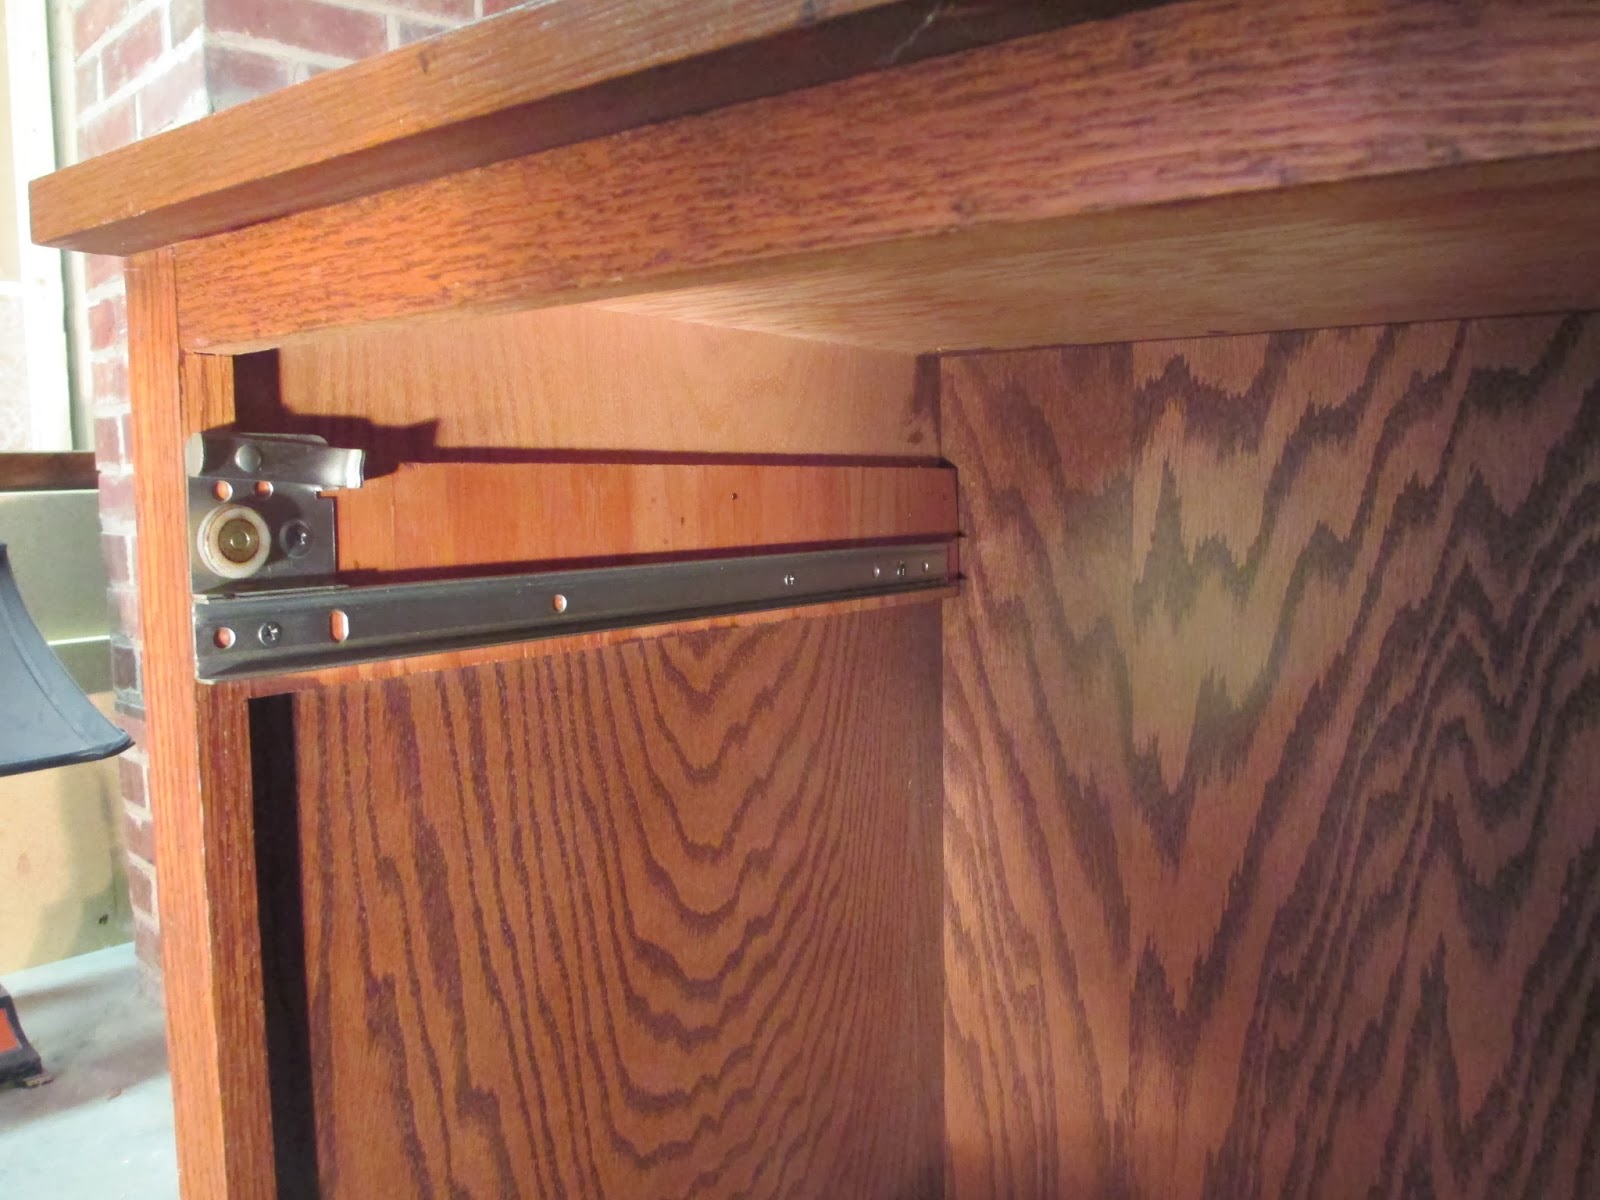
I made Owen sit on the stool to demonstrate how that top drawer was going to be too big. He is only 4 years old and skinny as a rail - and his little thighs are just barely going to squeeze in there. Oh yeah, and the desk is even elevated another 3/4 of an inch because it is up on some supports for painting, so Owen would have had even LESS clearance!

Everything got a coat of primer.

Here's my top in all of it's sanded glory (that's actually not the first time I've said that!).

A coat of walnut stain later and we have this. FAIL FAIL FAIL! You can't see it very well in the photo, but the parts where I used wood filler were super obvious and weren't covered up by the stain as I had hoped. So then I did what any woman would do - I added another layer to try and cover it up. And by layer, I mean dark coffee glaze.

Another FAIL! It ended up looking black. And sparkly. And it still just looked like a piece of plywood, not the shiny finished wood top I was hoping for. After whining to Brent for a bit and convincing him the project was ruined and just a big waste of time, he told me he could make a new custom top for it. Thanks sweetheart!

I moved onto painting in the mean time. There was a quart of flat paint that I had gotten for FREE from Ace Hardware last fall when testing colors for our workshop. Suprise - another shade of turquoise!

Brent came home with the new top he had made, it fit right over the top of the old one and gets screwed to the desk from below so you don't see any screw holes.

After a coat of stain...

I put two coats of this poly on the wood top and used the sheep's wool pad next to it to apply the poly.


I'm not super smart, which I can prove if you would have been at parent-teacher conferences when I told Emma's teacher that 11 minus 7 equals 5. But I am smart enough to know that these points on the four corners of the stool couldn't stay.

Brent took them off with a saws-all.

The existing on the stool could only be described as "shiny". A lot of high gloss laquer went on that thing! And I was determined to take it off. I sanded most of it with the orbital sander and used a palm sander for the rest. Then I stained it and added some poly to match the desk top.


Here are the final project pictures:

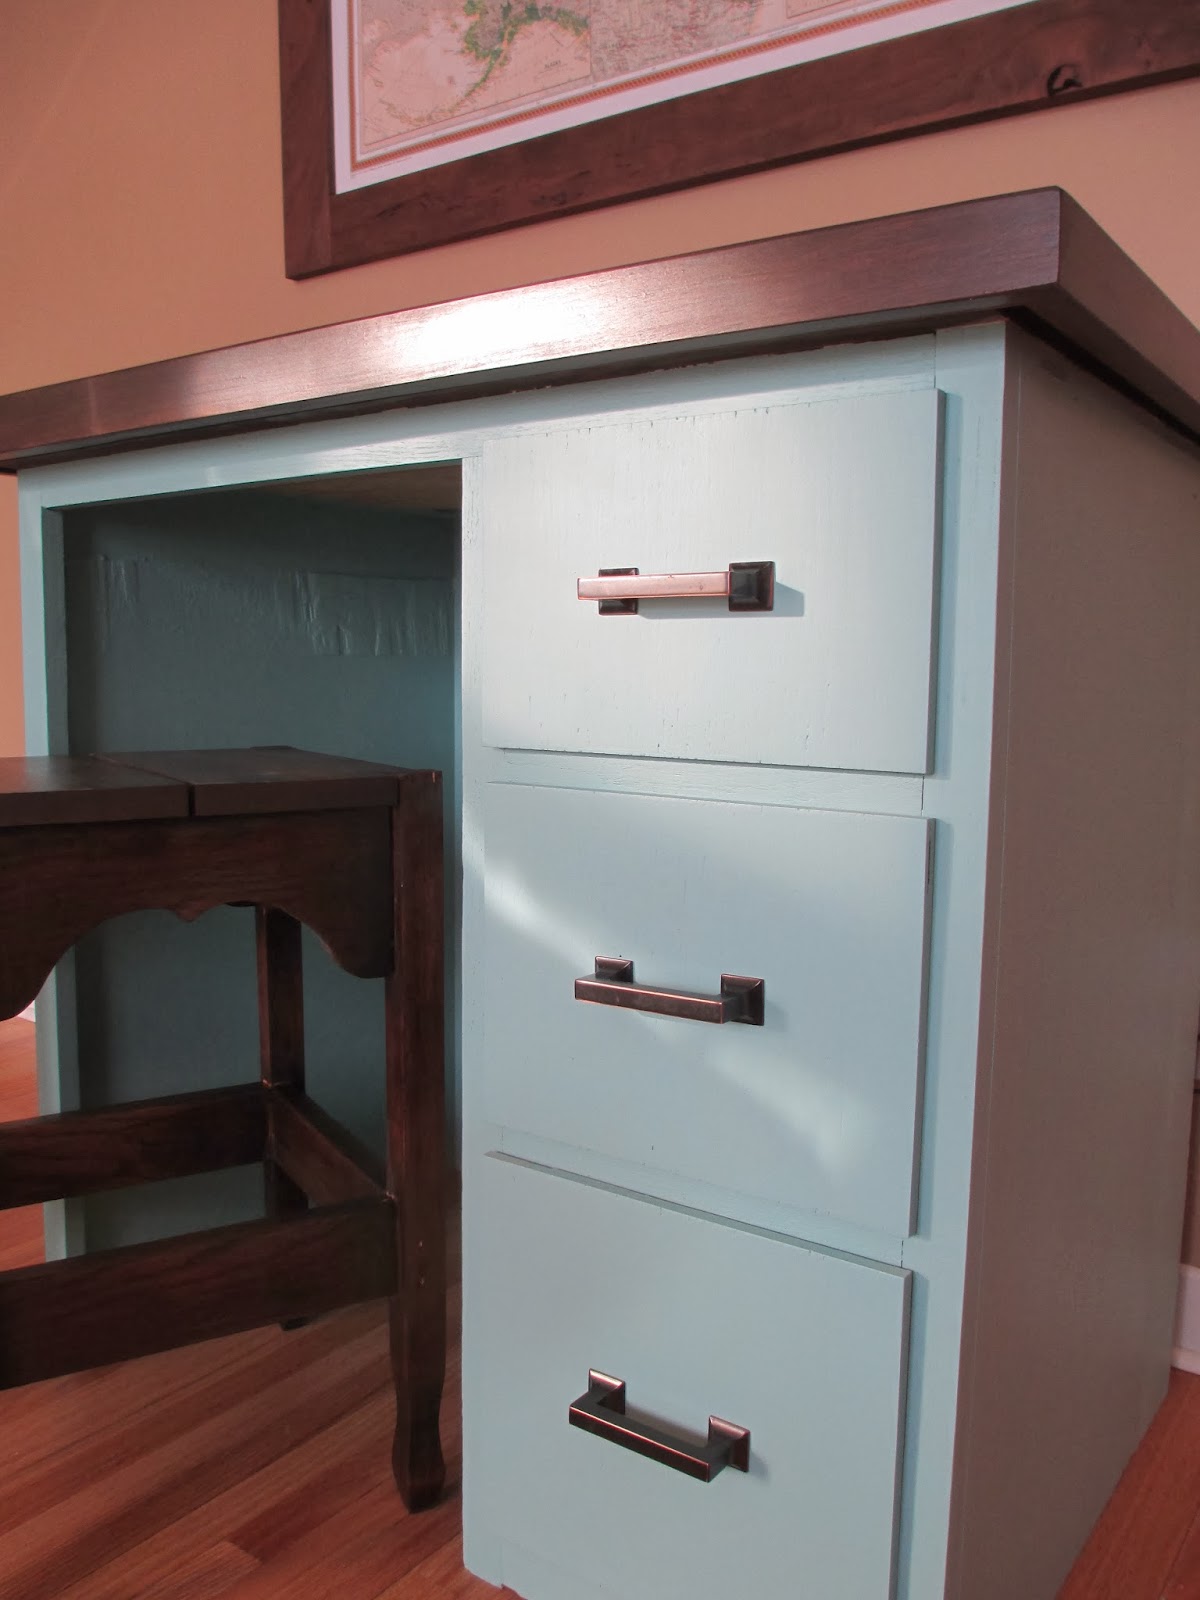


Since our children don't have a use for it, we have a special little friend that can hopefully get some use out of it for a few years - and she is most likely becoming a big sister today!!!
That looks great!!! :) I love how it turned out and that chunky top you added. What a lucky little girl.
ReplyDeleteLove it!!
ReplyDelete