Before painting anything that has a finish on it, you must give it a good sanding to rough up the surface so the primer has something to stick to. We used a palm sander and Brent's muscles.

Zinsser 123 Primer is what I usually use for my priming needs. Before we primed, we wiped any excess dust residue off of the doors.

To paint doors, we paint the inside profile first.

Even though these were solid core doors with a veneer on them, when Brent had to trim them down to fit the heighth for our opening we were left with the exposed particle board. You can't just prime that particle board and expect everything to magically turn out ok. It will suck up moisture like a sponge. So Brent cut an additional couple of inches off the bottom and replaced the particle board with a strip of solid wood to prevent moisture problems down the road. Once the doors are all painted, you won't be able to tell where he filled in a new piece.
Back to painting...then the recessed panel...

Then the outside frame. With primer, you want a very thin coat. Since the stain was so dark, we opted to do 2 coats of primer. After the priming step, we applied 2 coats of exterior white paint. If you look closely at our finished doors, we actually should have done a third coat - but who's looking that close?! Honestly, I was so sick of painting these doors toward the end, I just plain didn't care anymore. The insides of them still need another coat, but it's just going to have to wait until Spring. Heidi sicky of painty.

The moment we've been waiting for since last summer...IT'S DONE!!

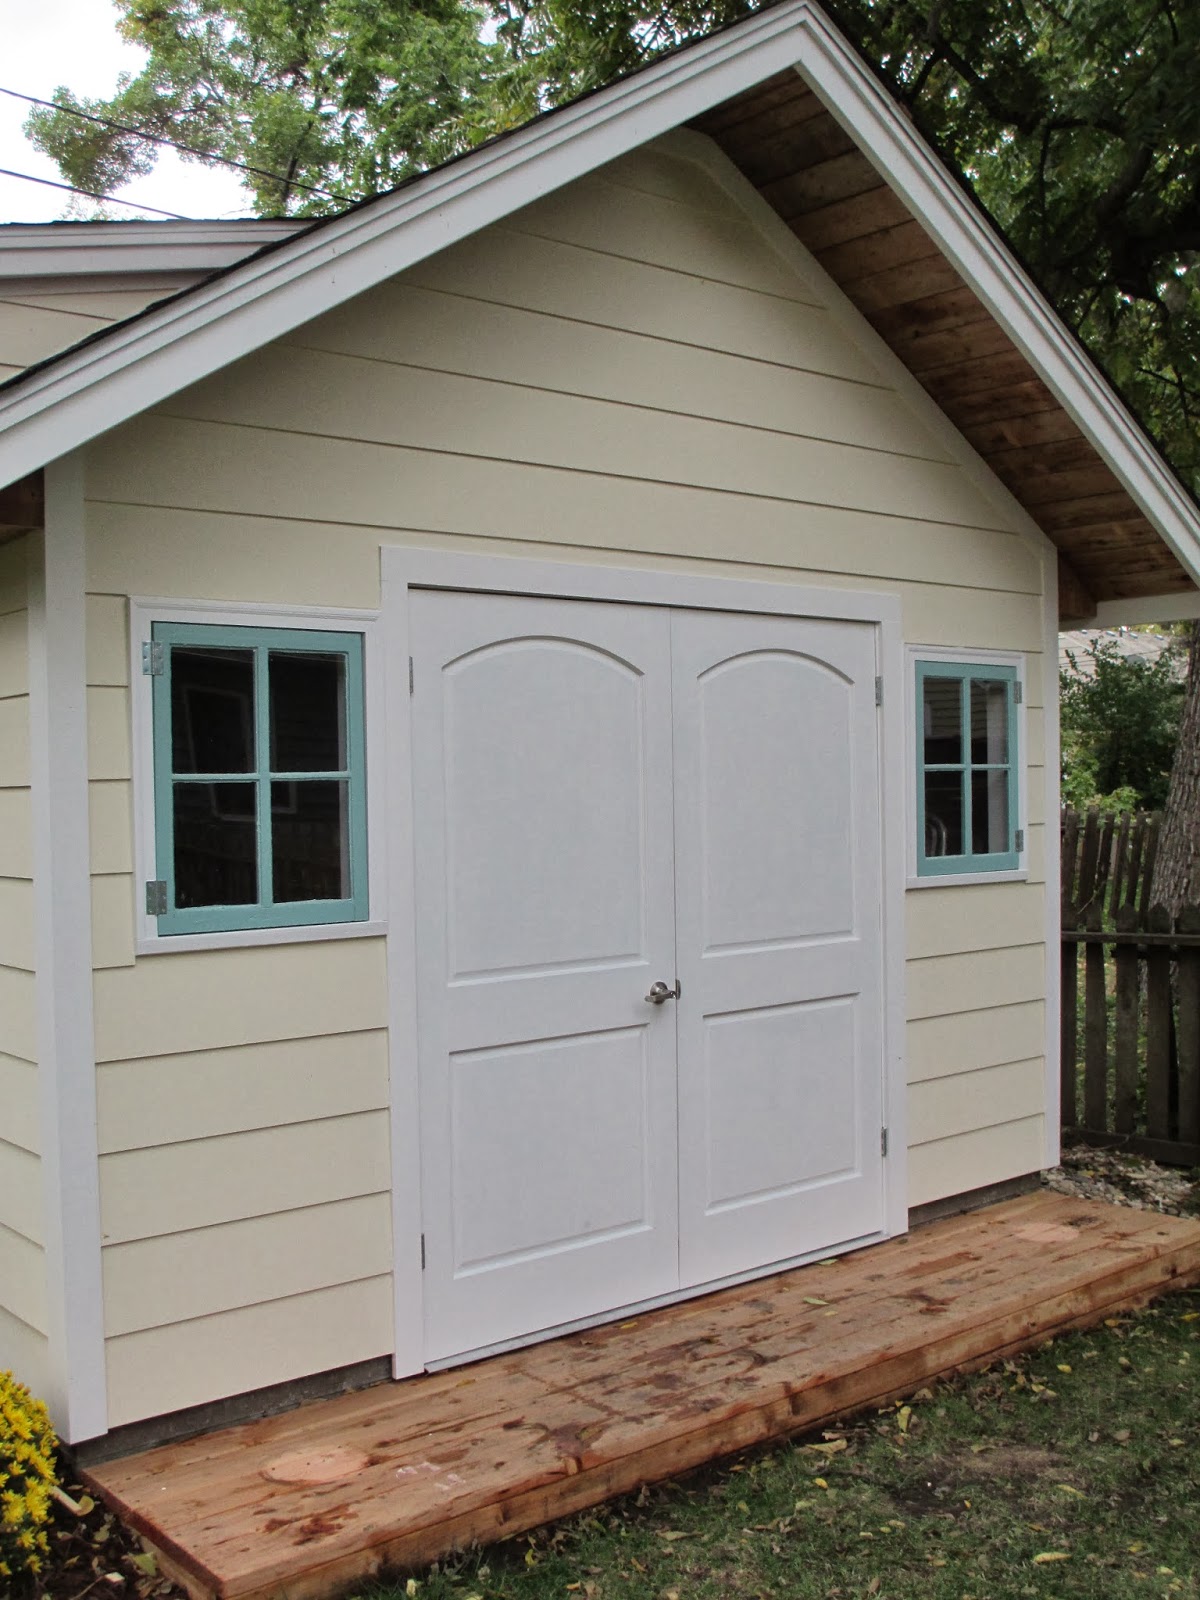
Here's a quick and easy way to hang French doors - pay Brent to do it. Seriously, I have more respect for this guy the more I get to know him. He makes everything look incredible easy. How I tricked him into marrying me is still a question that passes through my brain.
You have no idea how tricky it is to mount these doors and end up with them meeting together in the middle! He also put a handle and lock set on the doors for a little security.

Both doors open and swing out, so at some point when we are working with 4'x8' sheets of plywood, we should have no trouble getting them in and out.

My mom and I planted some mums and grasses along the side. There are also some black eyed susans, but you can't see them because the rabbits already ate them (frowny face).

And this last picture is the one that takes my breath away. I think it turned out even better than we originally planned. Everyday while doing the dishes in the kitchen, I get to look out the window and stare at it, and it makes my cold little heart sing. Gone are the days where we assemble projects at our kitchen table, tracking sawdust through the kitchen to get to our miter saw. Yep...once we get electricity out there next Spring, life is going to get just a tiny bit sweeter.

How much did all of this cost, you wonder? Here's a quick breakdown of what we roughly spent to put this little babe in our backyard:
Concrete foundation: $437
Roof: $850
Windows: $70
Doors: $85
Siding: $330
Paint: $100
Landscaping: $100
Miscellaneous lumber/hardware: $400
Which is a grand total of $2,372.00.
I honestly didn't know how much to budget in advance for our workshop...so I just ball parked at $2,000 and saved up that amount before we got started. Next spring we will need to add electricity and a workbench and some countertops, gutters and lights so we still have some saving to do. Construction projects always seem to cost about 50% more than you plan for, so I guess this one will be right on track to meet that. Still not a bad price for what we got.
On to new adventures now that the workshop is complete!
Can I live there??? So cute!! Well worth all the hard work, I'd say.
ReplyDeleteGreat job!! It looks adorable!
ReplyDelete