Tuesday, April 8, 2014

Role Reversal

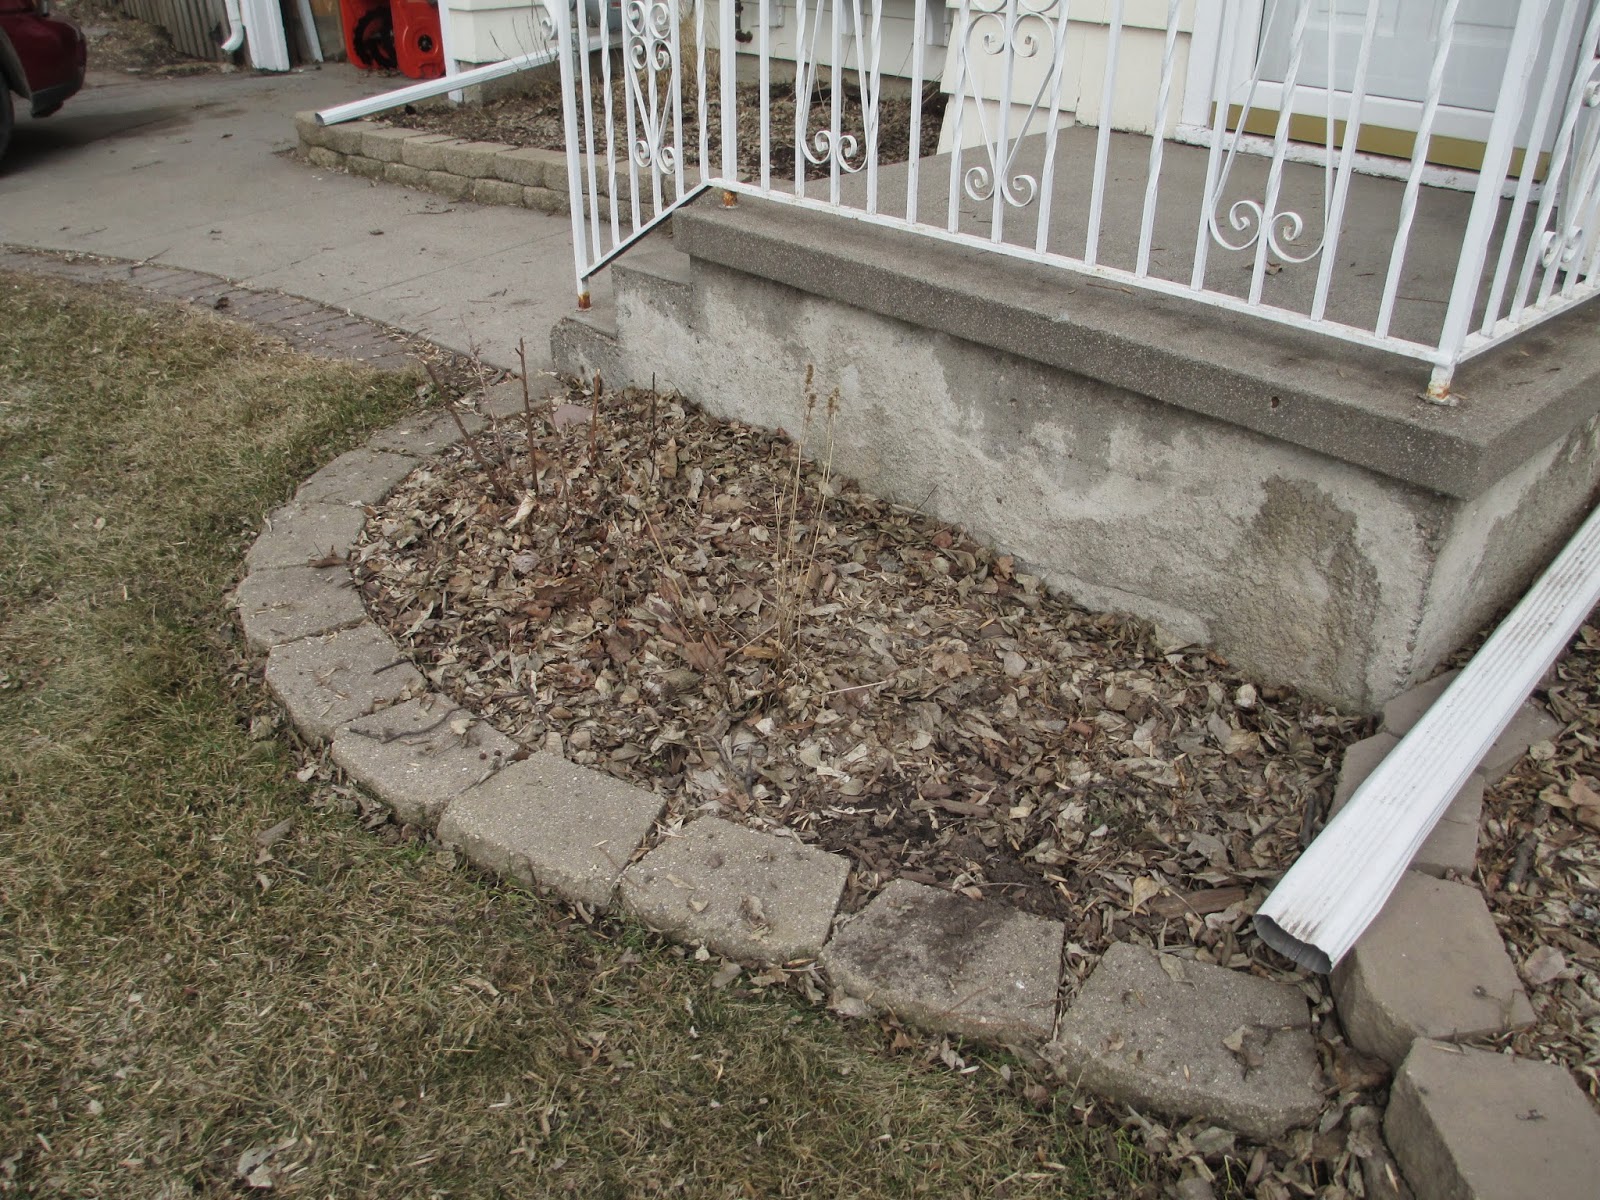
So I had to chuckle to myself the other night.  Snow had melted (don't worry, we got more after these pictures) and it had left us with a lawn littered with debris.  Turns out we didn't do as thorough of a job as we should have last fall when the leaves were falling.  There were piles of leaves in our boulevard and the flower beds were covered in leaves, over a foot deep in some spots.  Christmas lights were still dangling from the eaves.  And yes, if you look closely, that is an owl wearing a Santa hat on our front door.  The turquoise Christmas tree is still standing strong, too.
 Seriously, our house had the exact opposite of "curb appeal" - I'm thinking it would have been more accurately dubbed "gutter appeal."  Time to clean 'er up.  Or take photos while Brent gets it cleaned up!  Kidding, I put the camera down to help a little bit.  Thankfully, the kids are great helpers and love chipping in.
 And since we couldn't find any of Owen's shorts from last summer, Brent made him some.  I'm still trying to convince him to bring the length up a little bit.  Think...Davey Dukes.


 Turns out, after we raked up the garbage, there was actually green plant material beneath!
 Wow - kind of hard to tell, but this next photo is actually the "after."  Looks like we still have a little work to do.

 Then I was looking at my flower boxes, thinking they could really use a new coat of paint.


 I used my orbital sander (kind of my new best friend after that disaster of a project I call patio furniture refinishing) to sand off all the flaking paint.
 A few things to note here:  1.  That is a paint brush in my back pocket and I honestly don't even know why it's there.  Kind of looks like a rabbit tail though.  2.  Do not zoom in on my shapely legs, those babies haven't seen the sun or a razor since last October.  Only halfway kidding about the razor part.
 And then this is about the time that I started laughing to myself, because as I was outside in the yard, busting my hump, Brent was inside making dinner for the fam while simultaneously doing yoga.  Hence the role reversal.  I love him even more for it though.  You can't blame a man for wanting healthy, flexible joints!
 Had to hand sand to get into the grooves.
 Once sanding was complete, I used the same primer I use for every project to give the flower boxes a good base so the topcoat of paint would adhere well.
 After priming, there were still lots of little gaps where the wood had shrunk and moved with age.  Hmmmm...a lot like humans.
 I filled all the gaps with the caulk gun while Brent followed behind me and smoothed the caulk out.  Don't worry, his yoga session was complete.  He was cussing like a sailor as he followed me though because apparently I was using wayyyy too much caulk and it was making it difficult for him to smooth it out.
 After the caulk dried, I put two coats of our white exterior semi-gloss trim paint over top.  This shouldn't be a shocker, but flower boxes get hit with a lot of water, since the plants within need water ever 1-3 days.  So I'm not surprised that they need to be sanded and repainted every few years.
 Well there, that's looking a little better!


These small scale projects are what we tend to work on during the weekdays after work.  Not too time consuming and can be complete in a few hours.  We save the weekends for bigger, more substantial stuff...and we can't wait to share with you what we have been building for the last two weekends!!
Now we just have to sit back and wait until about mid-May, which is when we can actually plant stuff in them!

Monday, April 7, 2014

The World's Tiniest Deck

Spring clean up has officially begun!  I wish I had some special tricks to offer you to get things done faster...but I don't.  If you want your yard to look good this summer, you've gotta put down that TV remote, put on some old clothes, pour a cup of coffee and get your buns in gear!  We've been waiting for the weather to warm up enough to allow us to work outside and Saturday morning, it happened.  It was probably below 40 degrees when we headed outside at 8am but that's an awful lot warmer than what we've been experiencing.

It's been a crazy month for us and it looks like things are only going to ramp up from here.  We were excited to find out that our workshop was pictured in a magazine!  Like, a real one, that people actually pay money for.  Unless you're the type that like to read them for free over coffee at Barnes and Noble.  Nothing wrong with that either - and if you are, pick up a copy of USA Today HOME and turn to page 61.  I wish this could be super awesome and I could tell you that we won some contest money for it - but we didn't.  It actually COST us $12.00 - the amount it set me back to buy a couple copies for memorabilia sake.  That's cool though, who needs more money, right?  I guess if we actually had a bucket list and we happened to write "Be in a magazine" on it, we could have crossed it off.


So right off the heels of the whole magazine thing, we get another exciting opportunity that I will tell you more about later - it might be a ways off so we'll wait until we know more to share the details.  But in order to get ready for this next opportunity, we needed to get our patio cleaned up.  I was looking at our patio table and chairs and they were looking a little sad.  We put a fresh coat of sealer on them a few years ago when I was hosting a bridal shower for my sister at our house, but they've been neglected since then.

Oddly enough, this story isn't about our patio furniture though - because that project isn't quite done yet - this story is about what happens when you are going crazy with the stain and looking for anything that might benefit was a protective coat.  Since I had all the stuff out to stain the patio furniture and it was busy drying, I decided it was time to tackle that teeny weeny little deck on the front of our workshop.

It was still just the construction lumber without any sealant or protective coat on it - unless a ton of muddy footprints are considered protective.  We went over the deck two times with an orbital sander using 120 grit sandpaper.

This is post-sanding and pre-stain.  Not perfect but that's where I like to throw in the word "rustic".

Here's the stain we picked up to use.  And honestly, usually I like to research this stuff a little bit before jumping into a purchase, especially since a gallon of stain is kinda spendy - but frankly, I was just so excited to get outside and work on a project that I just point to a stain color on the sample board at the store and said, "I'll take a gallon of that."  Luckily, it worked out great!

This is my trusty outdoor staining brush.  It doesn't look pretty but it really works well.  The natural bristles do a great job applying the stain and the short sturdy bristles make it easy to jam stain into hard to reach areas.

Here I am at the halfway point.  It probably took about 10 minutes, or less to do the first half of it.  I spent more time tugging my pants up so my neighbors wouldn't have to see my back side, than I did actually staining.  Poor plumbers - I understand.  

All done and looking fine.  Seriously, a 20 minute job guys and it looks way better!  Here's a before and after - because we all love a good before and after, don't we?!

As soon as our patio furniture is dry, we'll be able to get some pictures - I'm excited to see those before and after photos because they should be significant, too!