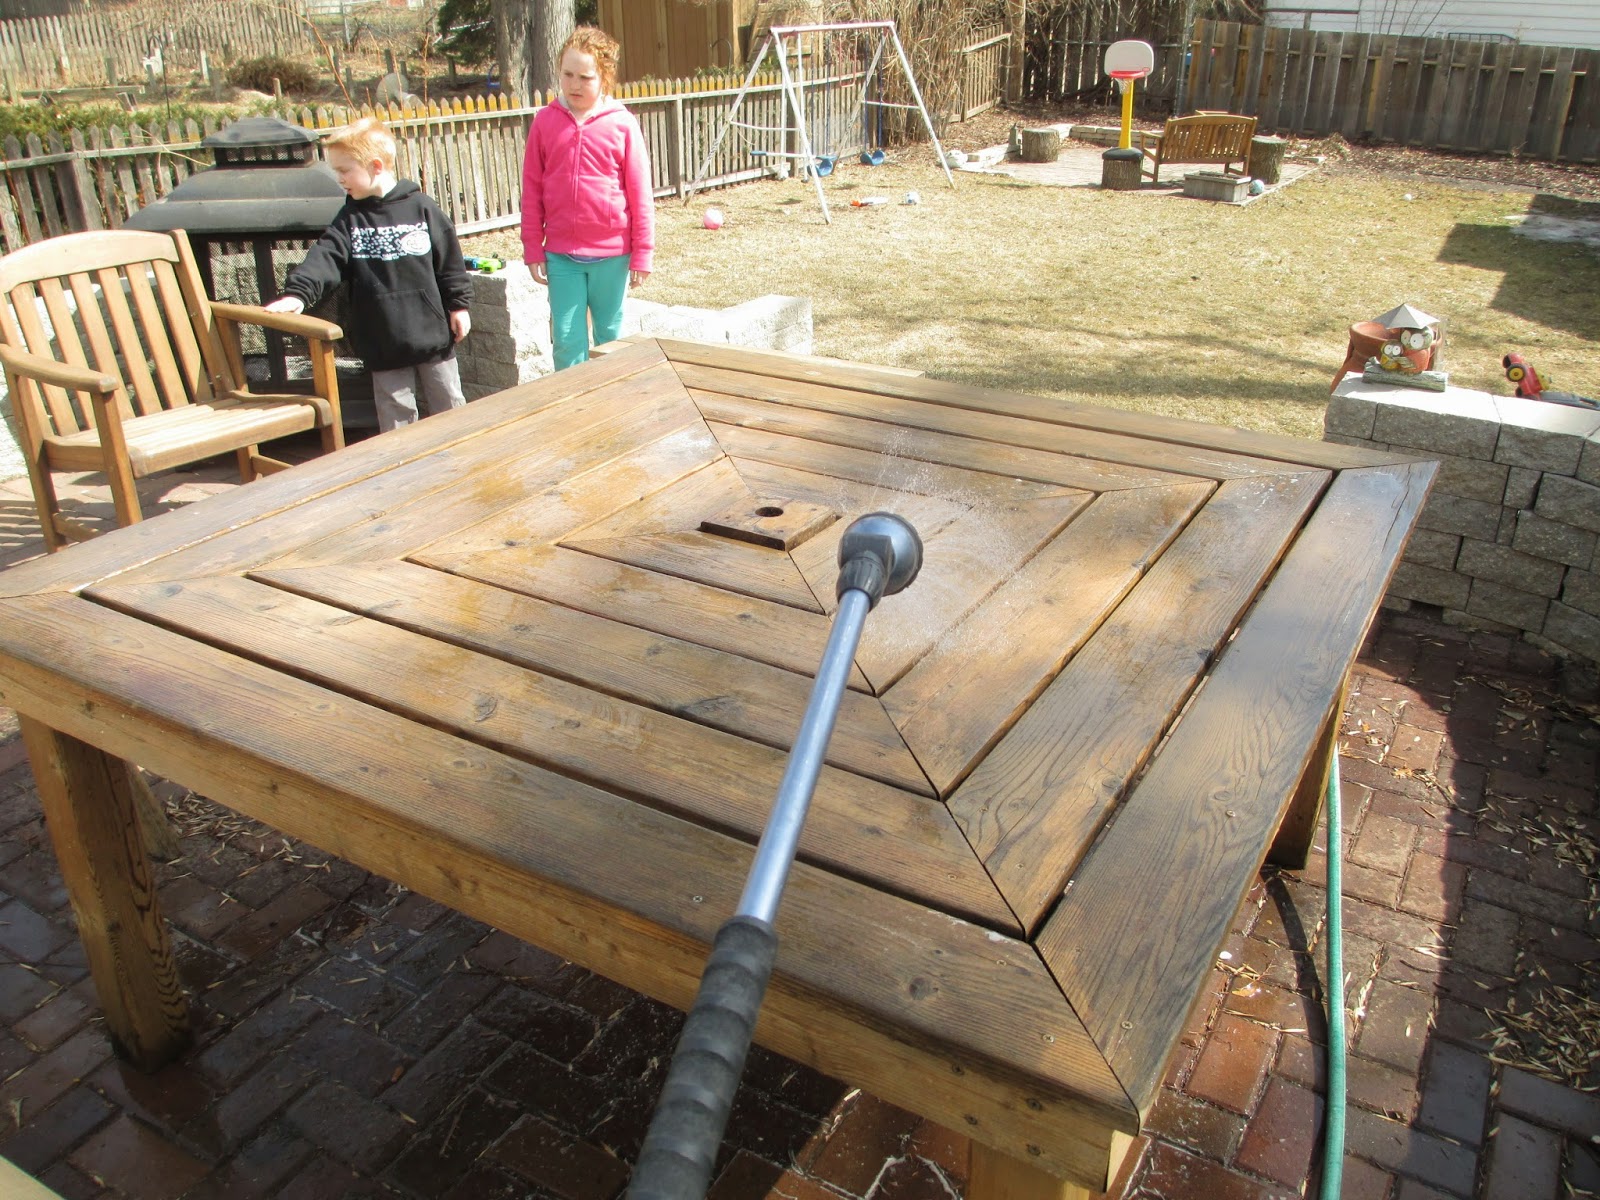
This all began as I was looking at our patio table and chairs a few weeks ago. They hadn't had a fresh coat of sealer in about two years and as cedar ages, it takes on a weathered gray color.

 These are the chairs we have that also could use a little sprucing up - see how the finish is coming off the fronts of the chairs.


 Using a hose, rinse the product off completely. No scrubbing required - unless you have some super dirty furniture!
 After the furniture is completely dry, you will likely need to do a little sanding because all of that moisture makes the wood look a little fuzzy. An orbital sander loaded with 120 grit paper did the trick for us. Blow the sanding dust off and you're ready to start applying the stain. This particular product I'm using is a stain and sealer in one, so there won't be any need for a top coat.
 After I was done with the table, I was excited to move onto the chairs and this supposedly awesome blue stain I had picked out. I don't know what I was expecting when I opened the can, but it wasn't this. Now would have been a good time to do a test patch to see if I was going to get the results I desired - but....I didn't. I decided to just throw a coat on the chair and deal with the consequences. Not good guys....not good.
 Crayola hasn't even invented this color. It ended up being a muted blue brown yellow tone, because the blue stain is considered semi-transparent, it allows the wood grain to show through, except in my case, the chairs were sort of yellow brown from the old sealer which created this obvious disaster.
 Then I hit a stopping point because the following day, this happened:
 After the snow melted, I not-surprisingly made mistake number 2. I decided that maybe the chair just needed a second coat of stain and maybe that would bring out more of the blue and less of the brown/yellow. At this point, I was either going to be sanding it all down or painting over the top anyways, so might as well just add more stain! Well, the mossy green only turned a darker shade of mossy green. As I type this, I'm slapping my forehead because, DUH!!! Big surprise that it only got darker green. Dangit!
 The other downside here is that I have an entire gallon of blue stain - I've been racking my brain trying to figure out what kinds of projects I can use it on. And I can't think of many...not many at all.

So I badgered Brent and the fam into going down to the hardware store to get some stain...figuring I would have this project knocked out by evening. I picked up three products.
Deck Wash
Brown Stain/Sealer for the Patio Table
Turquoise Stain for the Patio Chairs - hint # 1 that this was a bad idea.
To get started, clean any dust off of your furniture - I used the air compressor hose to blow all of the debris out of the cracks.
I transferred some of the deck wash into an old plastic container and brushed a coat over the entire table and chair set.
Now I had to decide, prime and paint the chairs or sand them down and stain them a different color. I searched all over Pinterest for some inspiring photos of painted patio furniture but honestly, the only painted chairs I could find were the adirondack style chairs.
I finally decided that there must be a reason people stain outdoor chairs instead of painting them, so with my tail between my legs, I asked Brent if he would help me get them all sanded down. And as always, with a smile, he said he'd love to. Luckily, I had only stained one of the chairs green but the others needed to come down to bare wood so the final stain would look even on all of them.
I finally decided that there must be a reason people stain outdoor chairs instead of painting them, so with my tail between my legs, I asked Brent if he would help me get them all sanded down. And as always, with a smile, he said he'd love to. Luckily, I had only stained one of the chairs green but the others needed to come down to bare wood so the final stain would look even on all of them.
Between the two of us, it look us about 12 labor hours to get 2 chairs, one love seat and two little side tables sanded. We went through more 80 and 120 grit sandpaper than I could count.

Brent mostly used the orbital sander to get the majority of green stain off while I used a hand sander to get into the tight spots.


After we had gotten as much stain off as we could reach, there were still some areas that needed attention, so we ended up taking apart the chairs to get into those spots. Finally, ready for stain. I put a thin, even coat on the chairs using the same product I had used on the patio table using a natural bristle brush.


The moral of this story is to be careful with your wood furniture. If you feel like taking a risk and choosing a colored stain, try it in an inconspicuous spot FIRST before diving in. Hopefully I can save someone from making the mistake I did and the hours and hours it took to correct it!