Showing posts with label home decor. Show all posts

Saturday, November 22, 2014

Instagram + Printicular = Ornaments

I'm guessing we are like most families, in that we take a million photos of our kids, vacations and special activities throughout the year but then the photos simply live on our computer.  We usually only print a family photo here and there because there just isn't a place to display the informal, yet just as important, special event photos.

One of our kids' favorite pastimes is to get out their big books full of baby photos we made for them several years ago.  When they were little, it was still totally normal to print gobs of photos instead of creating digital photo albums.

But why not create some special ornaments for the tree commemorating some of their favorite memories from the past year?  If we make just a few per year, at some point our tree will be full of all the little moments that shaped their childhood.
The materials for each ornament add up to about $2.50 each and were very simple to make!  We found these metal lids in the venting department at the home improvement store.  They are called round tee caps and come in all different sizes, 2" - 8" diameter.  Here's a link for something similar from Home Depot, although not the exact same as ours, these would work just as well.  Sometimes when I purchase candles, they have lids on them similar to these caps - so those would also be a perfect substitute.
The 4" seemed like the best size for the photos I was going to use and they cost just over $2.00 each.
I found a glass pyrex dish in our cupboard that was ALMOST the same size as the cap, which would mean once my photos were traced and cut out, there would be a small metal border around each photo.
For my photos, I downloaded the Printicular app to my IPad.  Printicular easily uploads your Instagram photos to Walgreens and are ready to pick up in an hour.  Walgreens is only blocks from our house and it's where we always have our photos printed, so this was a no-brainer!  Prices are about $.39/each.
I positioned my glass bowl on top of the photo and traced around it.
Cut out the shape....
I practiced my positioning to make sure they were going to look good before the glue went down.
And if you can believe this or not...this was my FIRST time using Mod Podge - pretty crazy, right!?  I brushed a coat of Mod Podge on the metal and then a coat on the back of the photo and stuck them together.  When that was dry, I brushed another coat over the top of the photo to seal it all in.
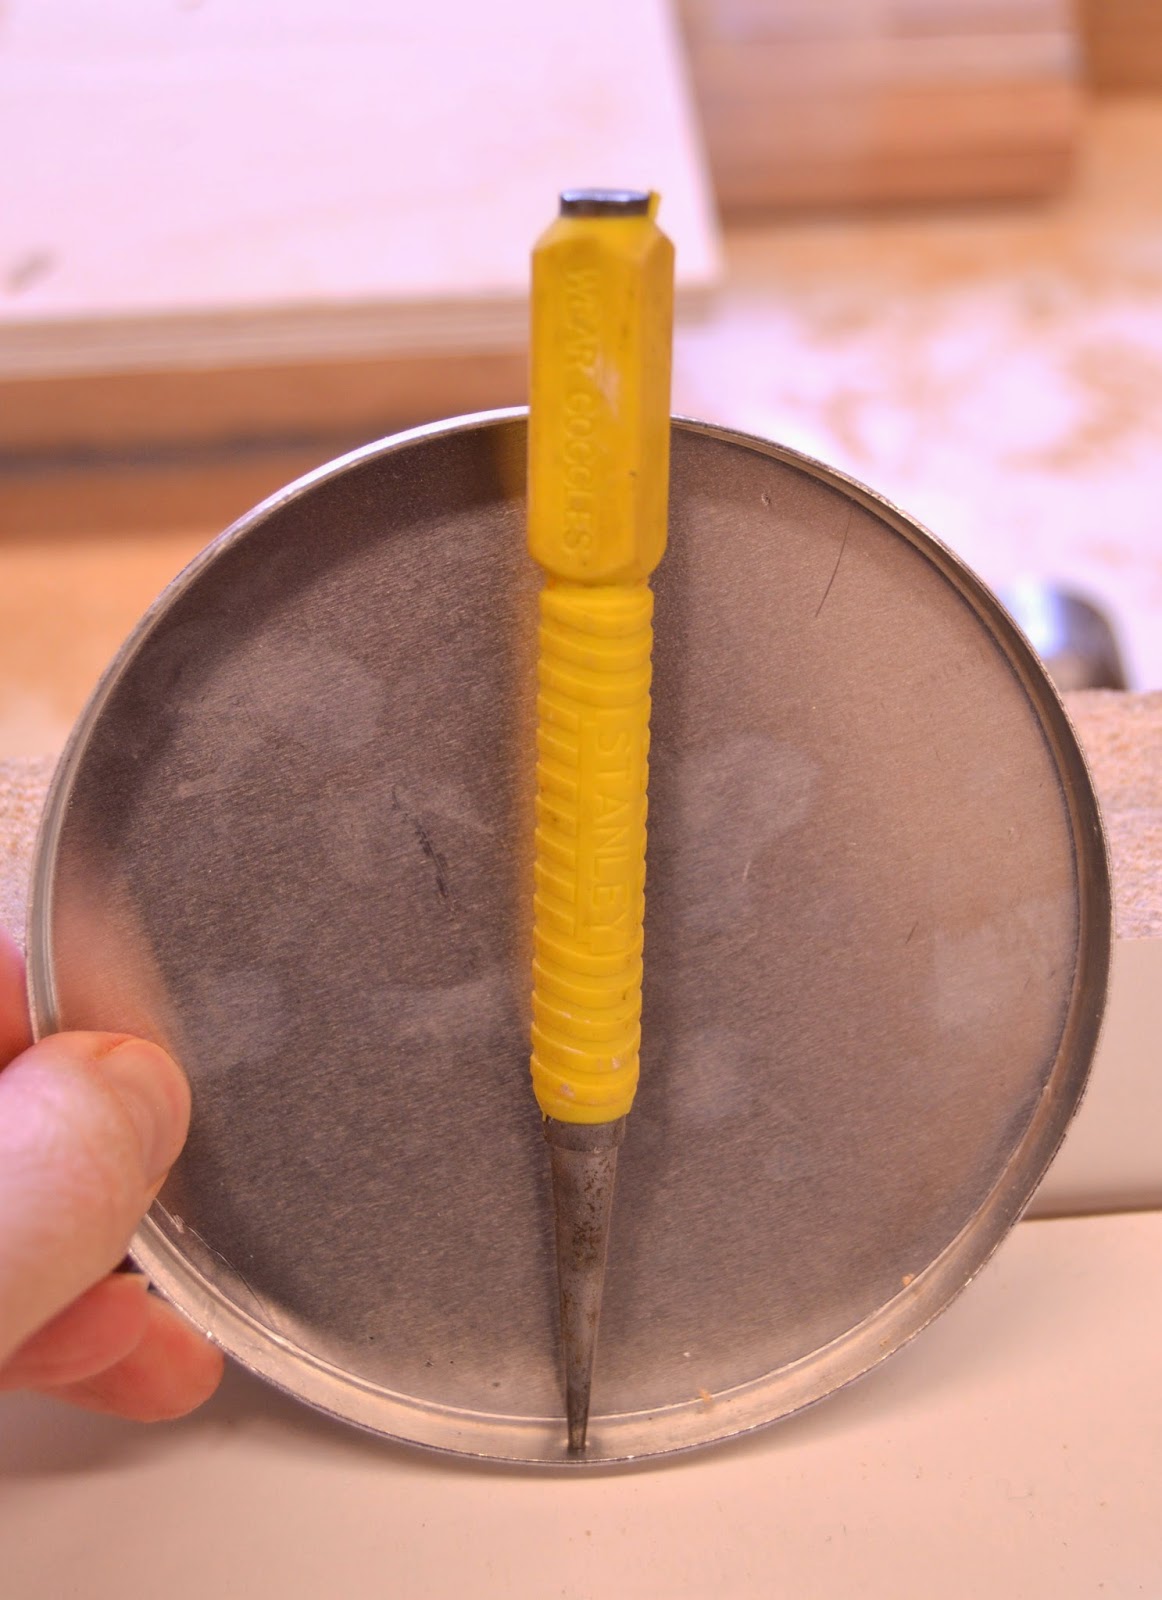
I asked Brent to drill a hole through the top of the ornament so I could attach my twine to hang it on the tree.  To do that, he used a nail set to make an indentation first.
And then he selected a drill bit, this size looked like it was going to work the best.
Before I put twine through the hole so they could be hung on the tree, I labeled the back of each ornament so we could remember the dates and special reason we had chosen that particular photo.
We love having these small tokens on our tree!  If our refrigerator wasn't stainless, I would have also attached magnets to the back so we could put them on the fridge year round.

Thursday, October 23, 2014

DIY Wood Block Tea Light Holder

The wood block projects continue....in an attempt to work through our seemingly endless supply of reclaimed lumber.  This candle holder was inspired by our ladies night (post coming soon) where one project was painted cherry red with a coat of dark brown glaze over top.  It was the prettiest color and I wanted to make something just so I could paint it the same color.  Enter this tea light holder.

We started with a block of our reclaimed wood cut at 24 inches long.  You could use a 4x4 and get the same effect.
I didn't want this to simply look like a plain block, so I asked Brent to cut the sides off at an angle, sort of like a boat.
He set the table saw at 10 degrees.
Insert your own table saw sound effects here.
But it was still looking a little blah, so I had him trim the ends with a miter saw at the same 10 degree angle to give it a little more interest.

Next we laid our tea lights on top to decide where we wanted them to end up.  No exact science here, we just eyeballed the spacing and went to town with the drill.  That's the beauty of "rustic" - doesn't have to be perfect!
Using a spade bit, Brent drilled out holes for the tea lights.
I sanded the entire piece with the orbital sander.  To sand inside of the holes, I wrapped a piece of sandpaper around a wooden dowel.
I checked out a bunch of different red paint samples at the hardware store but all of them were either too orange or too purple.  Turns out they sell this Gloss Cherry in a pre-mixed quart, so I dove in - head first.
Usually I would only use one coat, since I end up giving it a healthy sanding afterwords, but this time I had to do two coats.  Mostly because our wood block got a little "jammed" in the table saw so we were left with some dark burn marks from the saw.  After the second coat of red paint was dry, I sanded the entire piece and applied a coat of VanDyke Brown Glaze.

Wednesday, September 3, 2014

Wood Block Pumpkins


Hopefully everyone had a great Labor Day weekend!  Three days off in a row never ever get old in my book!  I know that we are supposed to use Labor Day as a time to refresh and relax, so we did just that - except our version of relaxing is a little more unconventional.  Building and creating is our family's outlet for relieving stress...so when we woke up at 6:30am on Monday, Sept. 1st, the kids and I had a list of stuff that we wanted to make together!

The first thing we were going to make was, say it with me here, "this think I saw on Pinterest!"  Adorable little pumpkins made out of 4x4 posts!  Except we didn't have any 4x4 blocks, we only had some reclaimed lumber that is more like 3"x2.5" but with tons of texture.  Better in my book!  And free...the goal of most of our projects is to build them out of what we happen to have laying around.

I cut them at different heights until they looked just right.  Then we sanded everything really well with a sanding block and an orbital sander.
Emma painted the large and the small with one coat of antique white.  Since we were going to be sanding them after painting, we didn't bother using any primer first.  Owen painted the middle sized block orange.
After the paint had dried, we taped off our patterns on the blocks.  For the polka dots, we used the only circles we had - smiley face stickers.  The chevron pattern was a little more frustrating because we only had the wide blue painters tape.  I didn't want to go all the way to the hardware store for a silly role of tape so I cut the wider tape into skinny strips.  Did it turn out perfect?  Nope - but Emma kept reminding me that we weren't going for perfect.  Smart girl.
With our tape and stickers securely in place, we painted each block in the opposite color of the first coat.  After that coat of paint dried, we peeled off the tape and stickers and sanded the blocks again with the sanding block.
 And of course, like everything else in our house, they then got a coat of brown glaze.  This was Emma's first time glazing anything and she LOVED it!
For the little stem tops, we just happened to have an extra dowel laying around from a closet makeover.  After I put a quick coat of American Walnut stain on them, Brent attached them by shooting a few 2" nails right down through the top of it and into the wood block.
To round out the remainder of our Labor Day, we painted this little picture for my mom...
And then took these candle holders we found in the basement...
gave them a couple coats of Wythe Blue...
and a coat of glaze so that they will match the rest of our home decor.
Anyone else work on anything over the long weekend? If you like this project, follow us on Facebook to see what else we're up to!