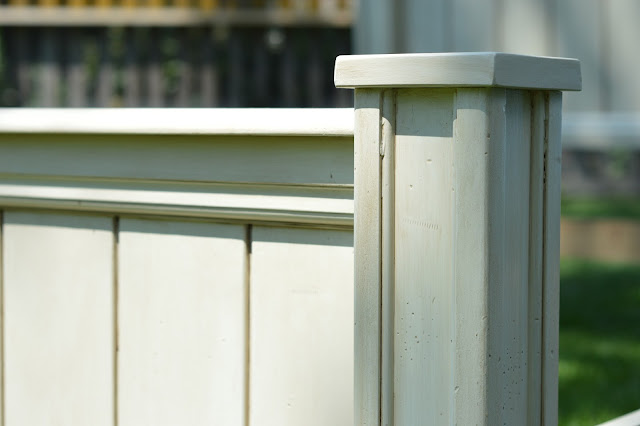
There were these strange wood balls on the top of the headboard and footboard - those would definitely be coming off :)
It was great that all of these pieces of molding had been layered to give the headboard and footboard a great profile.
And the absolute best part was that the bed had already been distressed. The idea of painting this bed really got my blood pumping because I knew glaze would pick up all of these little distressed marks and the vertical planks of the headboard and footboard and really make them pop.
Here's the footboard...
And a matching dresser with one drawer and a shelf inside the double doors.
The first step was to remove the balls. Brent used a pipe wrench to twist them and loosen them up.
In their place, he made simple caps and pinned them with air gun.I was going to use General Finishes Milk Paint for this project, which means you don't need to sand your finish before applying the paint. The old finish had such a thick. shiny finish that I chose to sand the set before applying the milk paint. I just didn't want to take any chances with chipping paint. This step was likely unnecessary but it gave me a little extra insurance.
I was really conflicted at this stage because the headboard was so beautiful in it's natural wood state. A coat of walnut stain would have been gorgeous but I could also see it as the antique white that my brain was envisioning.
After sanding, I wiped the piece with denatured alcohol to prepare it for paint.
This is the General Finishes Antique White Milk Paint that I used. Sometimes I only put one coat of paint on, depending on what I want the finished project to look like. For this piece I wanted a nice solid color to start with before glazing so I did two coats of the milk paint.
After the two coats of milk paint, I began the glazing process. I couldn't take any pictures because I was home alone and my hands get really dirty while glazing so I didn't want to be fumbling around with my camera. Basically, I diluted my glaze slightly with water to give me a little more drying time as this was a large piece to glaze. I worked in sections, for example, I would do one side of each leg, then I would do three vertical sections of the face of the headboard/footboard. Working in smaller sections allows you to better control the finished project because you don't have to work as quickly.
In the photo below, the footboard has been glazed in front. The headboard behind it only has the two coats of milk paint. You can see how the glaze makes the vertical lines pop out and you notice the small molding details a bit better with the glaze.
Here is the finished bed, including side rails.
And here's the small matching side table.


It looks like a totally different bed with just the wood balls gone. Awesome paint and glaze job!!
ReplyDeleteGood job
ReplyDeleteNo Doubt this bed is very beautiful. Behind the beauty of this bed lot of hard work of carpenter which we don't seen.
ReplyDelete